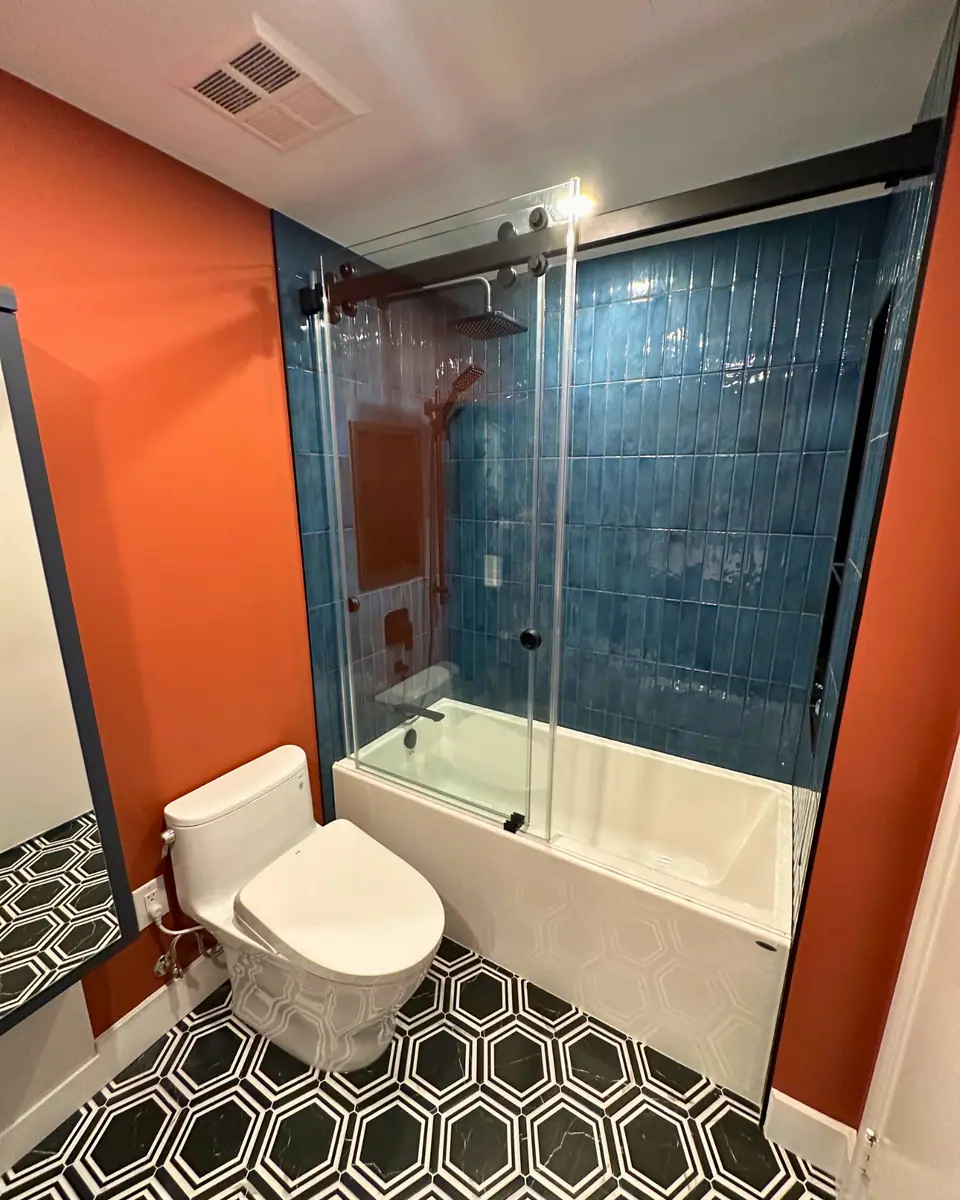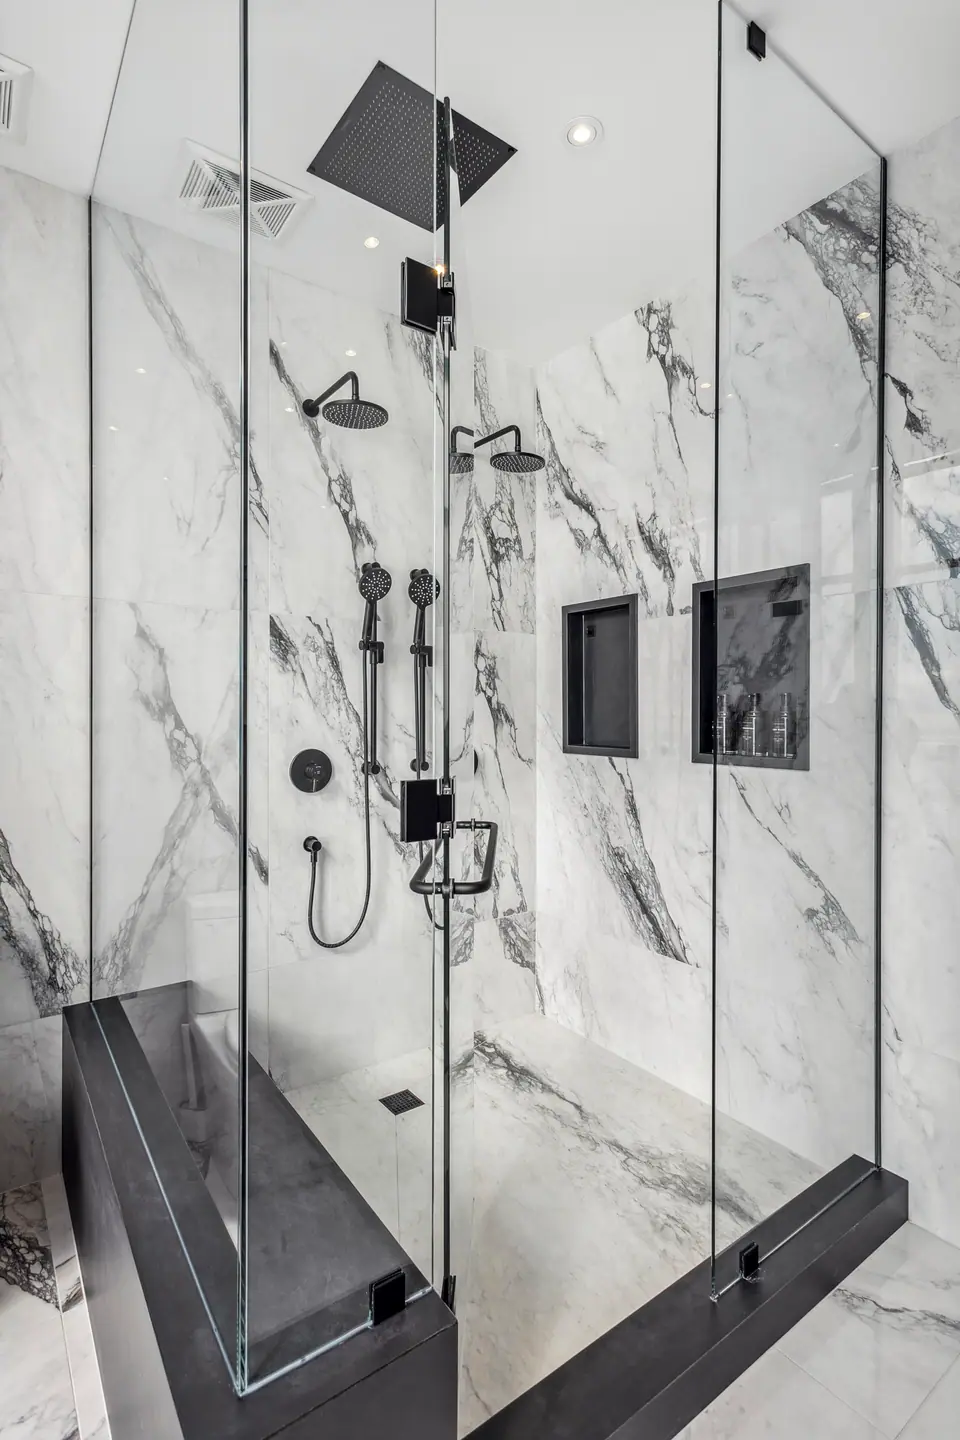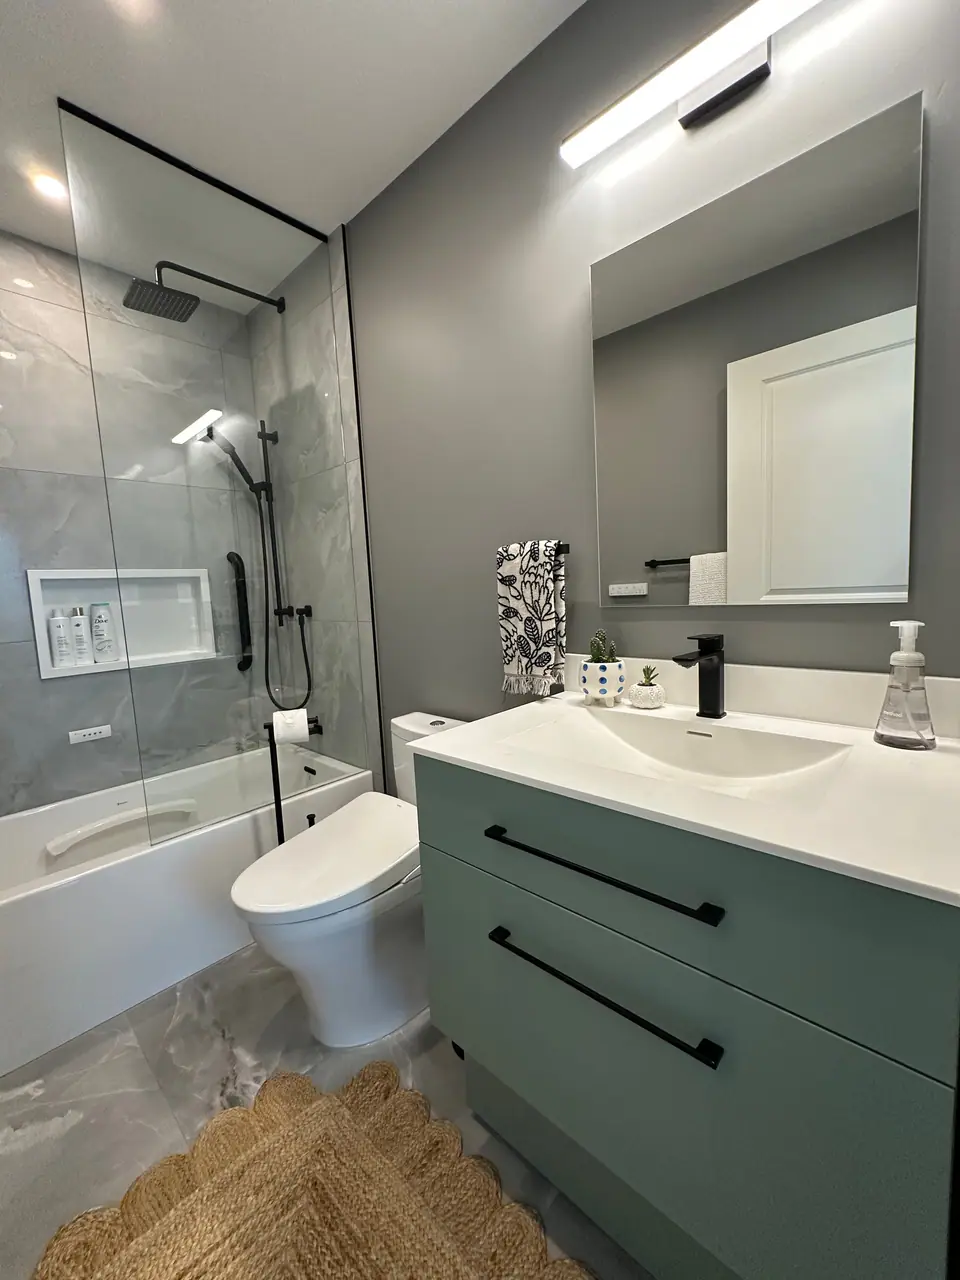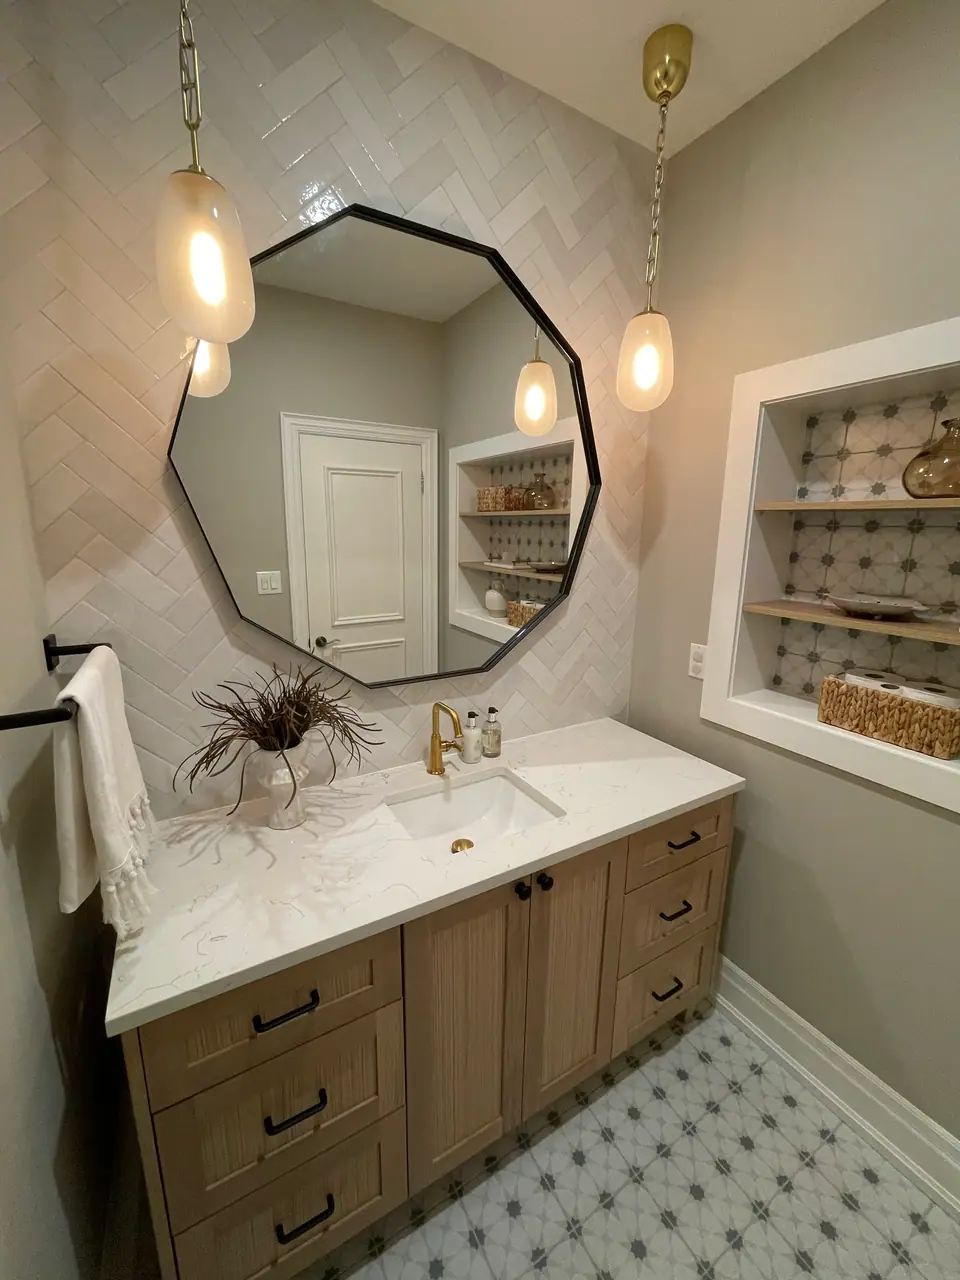
Shower design
Shower niche design
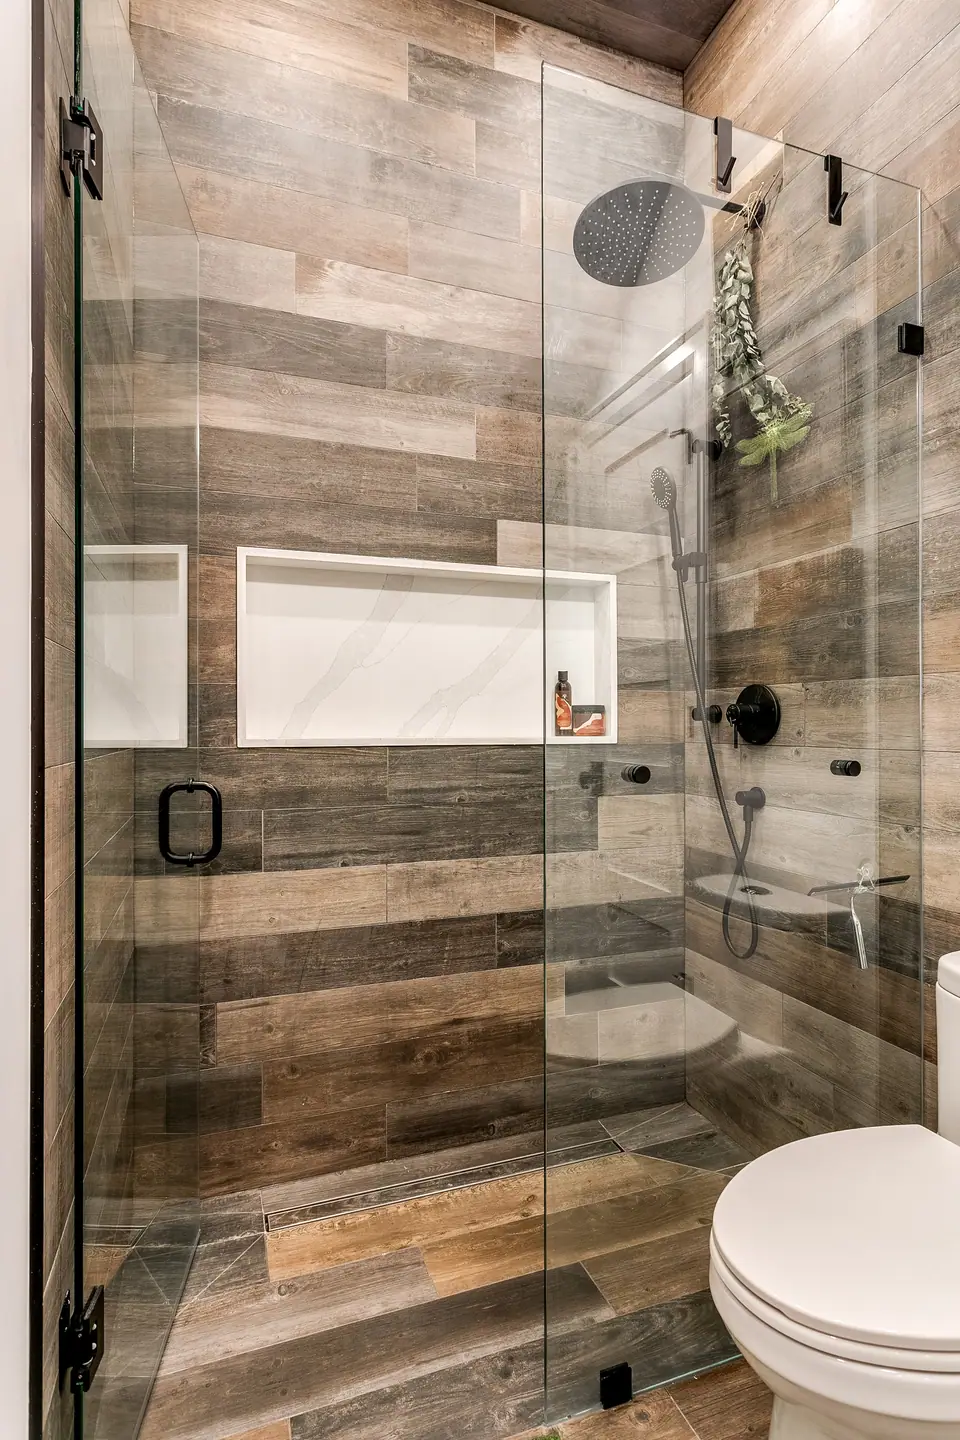
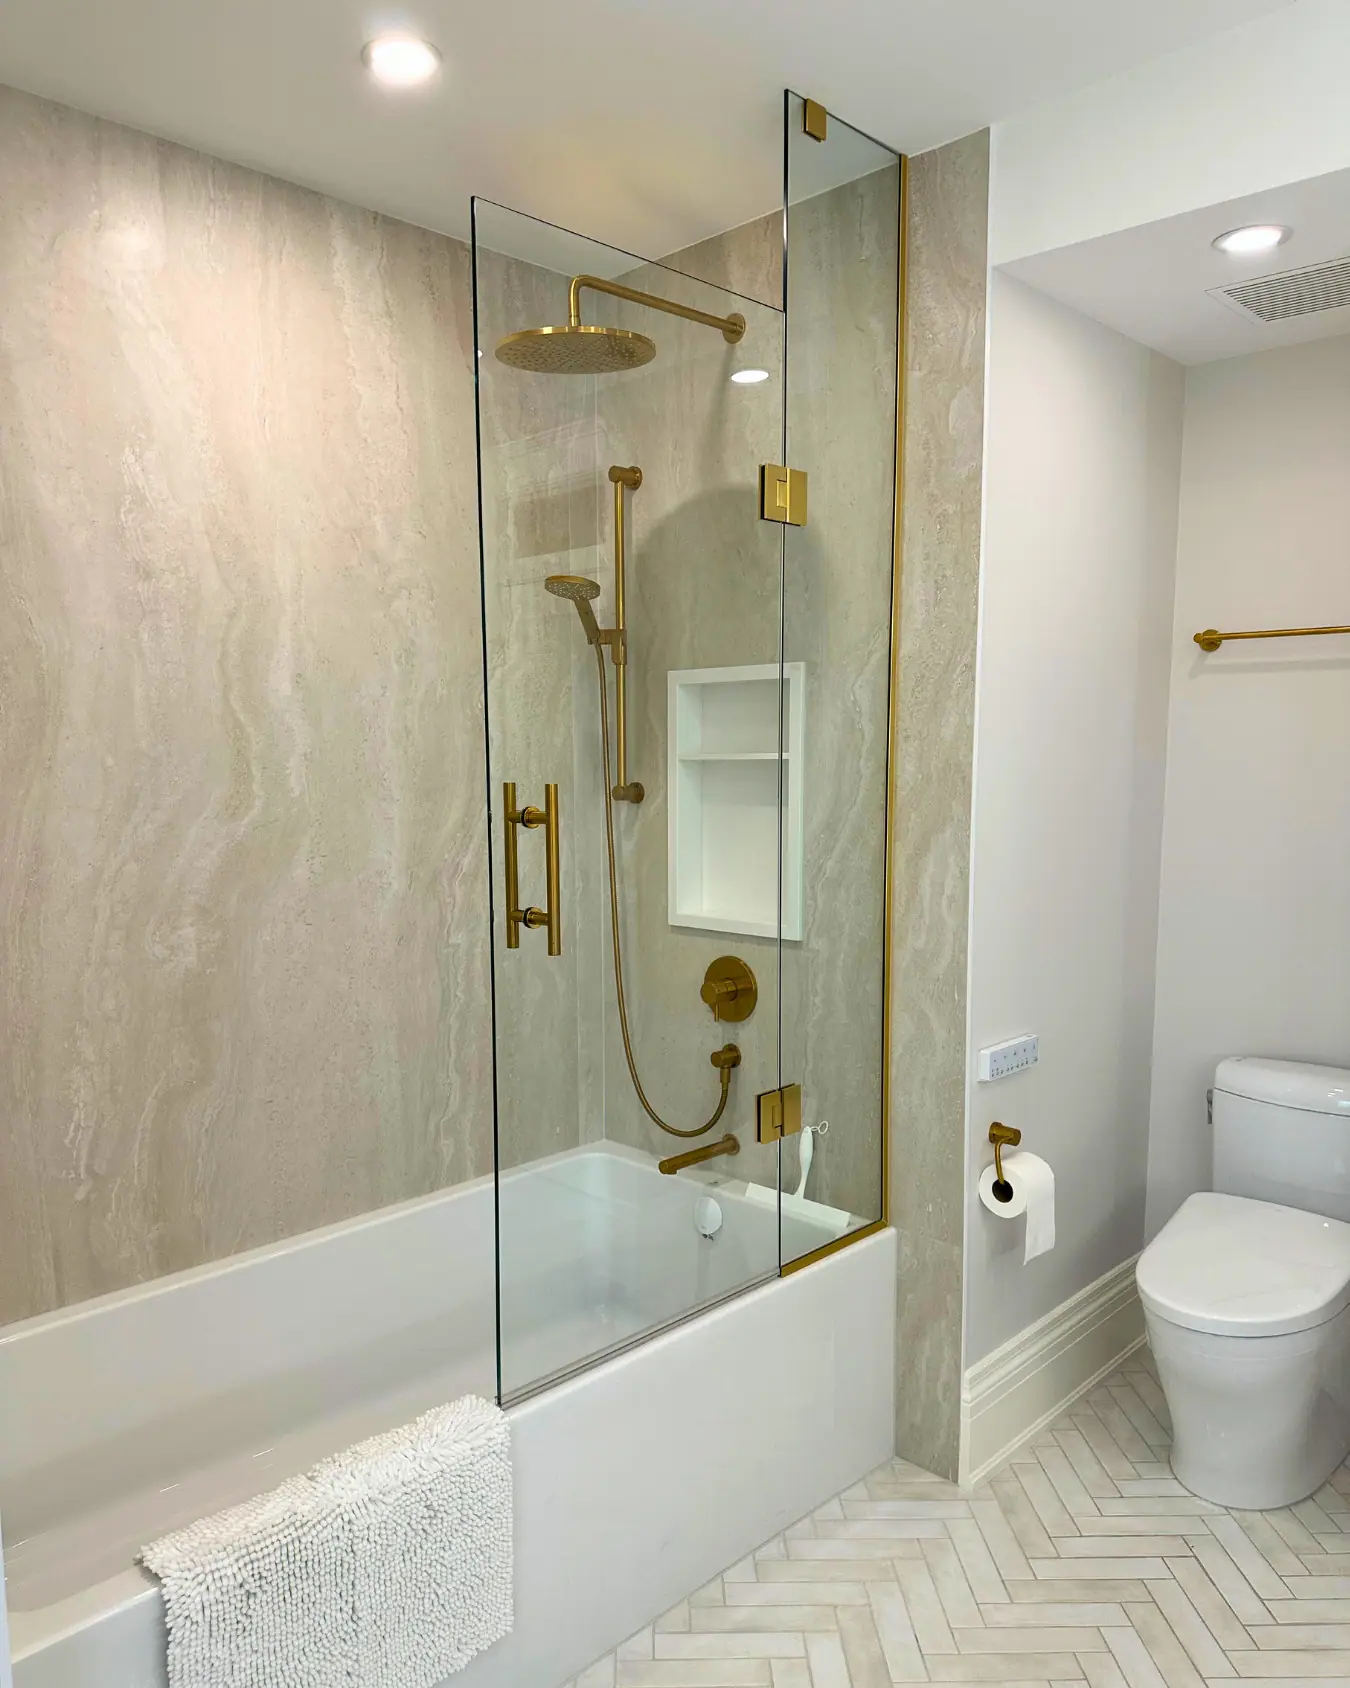
A well-designed shower niche sits in an interior wall, inside one stud bay where possible, at a height you can reach without stepping into the spray. Size it to the tile so its edges land on grout lines, slope the sill and every shelf toward the drain, and waterproof it as part of the wall, either as a prefabricated foam box or a framed box wrapped in membrane. Decide all of this before the backer board goes up.
Pick the wall first: interior, off the valve wall, out of the doorway view
The wall decides more than the size does. An exterior wall is ruled out in practice: its cavity holds the insulation, and Ontario's Building Code (Sentence 9.25.3.3.(2.1)) requires the air barrier behind a shower enclosure to stay continuous, with its joints sealed, where no interior finish supports it. A niche cut into that wall works against both. In a semi or row house, the wall shared with the neighbour is a fire-rated party wall and is not a candidate either.
Of the interior walls, the one that holds the shower valve and the pipe up to the shower head is usually the hardest, because the niche has to fit around that plumbing. A side wall you face while washing is often best. Also think about the view from the bathroom door: an open niche full of bottles is the first thing a guest sees if it sits on the far wall, straight across from the entry.
Reach matters more than symmetry. NKBA places shower controls 38 to 48 inches above the floor, reachable from outside the spray, and the niche belongs in the same easy zone: where you stand, not behind the falling water, where every bottle gets soaked.
Size the niche to the stud bay, then to the tile
Framing sets the first limit. In a 2x4 wall with studs 16 inches on centre, one bay is about 14½ inches wide and 3½ inches deep, and a niche that fits inside it needs no structural change. A wider niche means cutting a stud and framing a header, and in a loadbearing wall the Building Code (Article 9.23.10.6) requires a lintel designed to carry the load above. Depth only grows with deeper framing, such as a 2x6 wall.
Tile sets the second limit. Draw the tile layout first and fit the niche to it, so the top, bottom and sides land on full tiles or grout lines rather than thin slivers. A niche whose top lines up with a horizontal grout line looks planned; one that cuts a tile in half at eye level looks like an afterthought.
| Layout | Framing | Suits | Watch for |
|---|---|---|---|
| Tall, one bay, with a shelf | Fits between two studs | Most showers; bottles of different heights | The shelf is another sloped, waterproofed surface |
| Short, one bay | Fits between two studs | A few bottles in a small shower | Little room for tall pump bottles |
| Wide, two bays | One stud cut, header added | Two users, or a long horizontal tile | A lintel if the wall is loadbearing |
| Full-width ledge | Several studs cut, long header | A clean line across a feature wall | A long sill that must slope evenly along its length |
Every horizontal surface in a niche slopes toward the drain
Water left standing on a flat sill soaks into grout and grows mildew. The tile installation standard ANSI A108.01 (Section 3.6.4) requires horizontal ledges and rims to slope so that liquid flows toward the drain, and the TCNA Handbook's shower details say the same of seats, sills and curbs, adding that the waterproofing underneath must also be sloped. The Ceramic Tile Education Foundation lists niche shelves among the surfaces this covers.
The fall is small. The Foundation notes that a 5-inch curb needs only about 1/8 inch of slope across its width, and a niche sill of similar depth needs a similar tilt toward the shower. Many designers also make the sill one solid piece of stone, quartz or porcelain, so there is no grout joint on the wettest surface in the niche, and finish the edges with a mitred tile or a slim metal profile.
Waterproof the box as part of the wall, with overlapped seams
A niche adds inside corners and seams, and that is where showers leak. There are two sound ways to build one. A prefabricated foam niche arrives waterproof and ready for tile; Schluter's installation handbook for its version calls for the niche to be supported on both sides by the studs, fastened at no more than 12 inches (30 cm) apart, and sealed to the wall with membrane strips overlapping by at least 2 inches (50 mm) in all directions. The alternative is a framed box lined with backer board and wrapped in a sheet or liquid membrane, with preformed corners at the inside angles.
Either way, the niche is part of the shower's waterproofing system, which Ontario's Code requires to reach at least 1.8 m above the floor in a shower stall, or 1.2 m above the rim of a tub with a shower (Article 9.29.2.1). A niche over a tub-shower usually falls inside that zone. Before any tile goes on, flood-test the shower; the same handbook calls for waiting at least 24 hours after the membrane is finished. Shower waterproofing systems compares the membranes.
- Lit niches: prefabricated niches with built-in LED strips exist, with a waterproof connection box for the wiring. The wiring is electrical work that needs a licensed electrical contractor and an ESA notification.
- Grout: a dense grout on the sill and back of the niche is easier to keep clean; grout types explains the options.
Questions
How high should a shower niche be?
No code sets a height, so it follows the people using it. A practical starting point puts the bottom shelf between waist and chest height for the main user, in reach without bending. If someone in the house sits to shower, a second, lower niche next to the bench is worth adding; see shower bench design.
Does a shower niche weaken the wall?
A niche that fits between two studs cuts nothing structural. A wider one removes a stud and needs a header, and in a loadbearing wall Ontario's Building Code requires a lintel designed for the load above. Check which walls are loadbearing before settling the size.
What if the only free shower wall is an exterior wall?
Skip the niche on that wall. A corner shelf, a ledge built into a partial wall or a niche outside the spray on an interior wall keeps the insulation and the air barrier intact, which matters through a Toronto winter.
Should the back of the niche use a different tile?
It can, and an accent tile is a cheap way to add colour. Choose it before the niche is framed, because a tile with a different size or thickness changes the depth and the layout. A niche in the same tile as the wall reads quieter and lets the grout lines carry through.
Sources and further reading
- 2024 Ontario Building Code compendium, Part 9: Housing and Small Buildings (9.23.10.6, 9.25.3.3, 9.29.2.1)
- Ceramic Tile Education Foundation: Does your tile slope to the drain? (Scott Carothers, 2021)
- Schluter-Shower System Installation Handbook (04/2026)
- NKBA placement of bath fixtures (Supply House Times, from NKBA Bath Planning)
Checked November 19, 2026. Codes, by-laws, prices and product specifications change; confirm with your municipality, condo corporation or supplier before you build.
Keep reading
Related guides