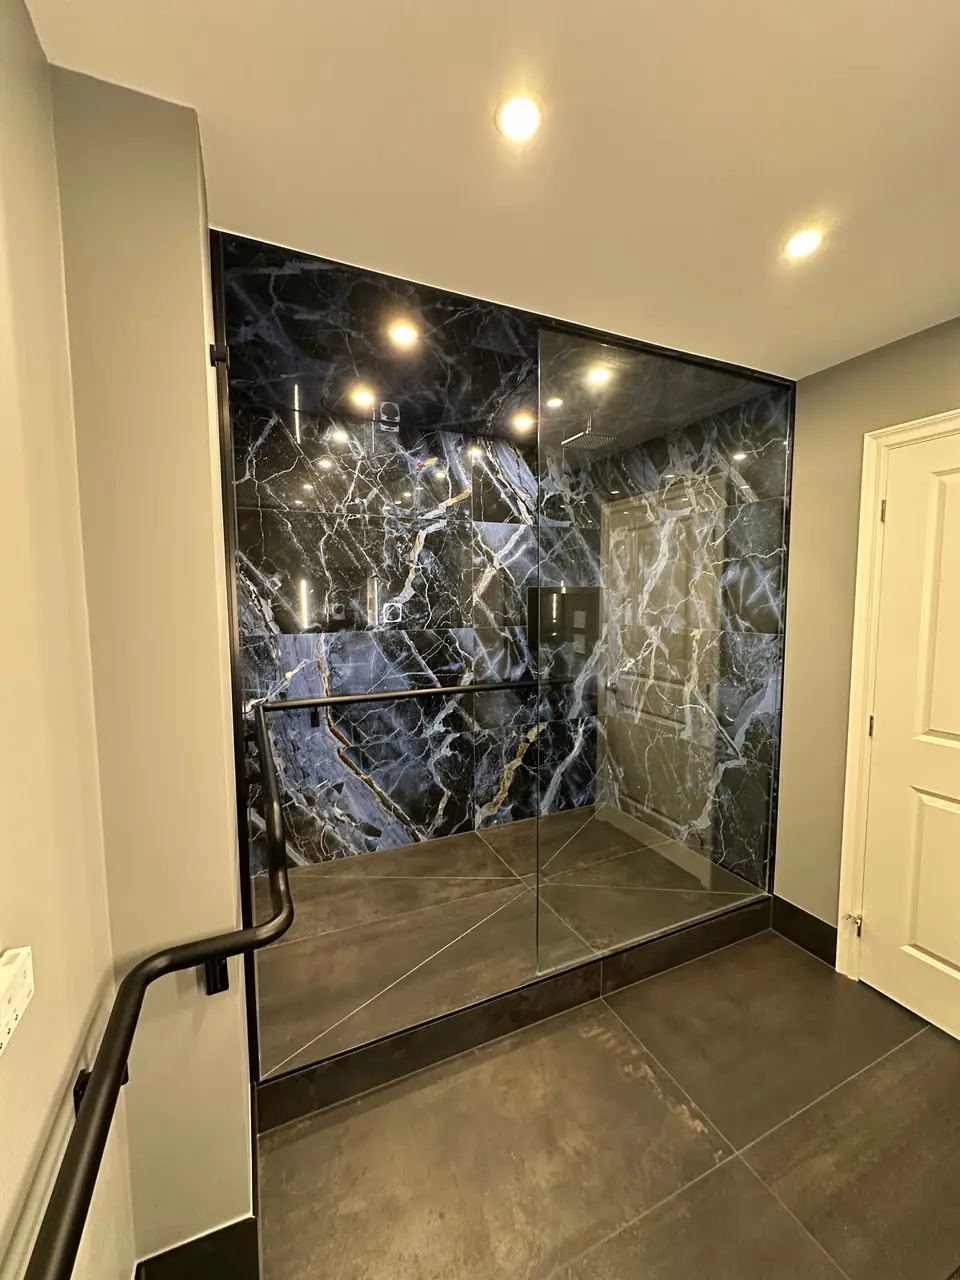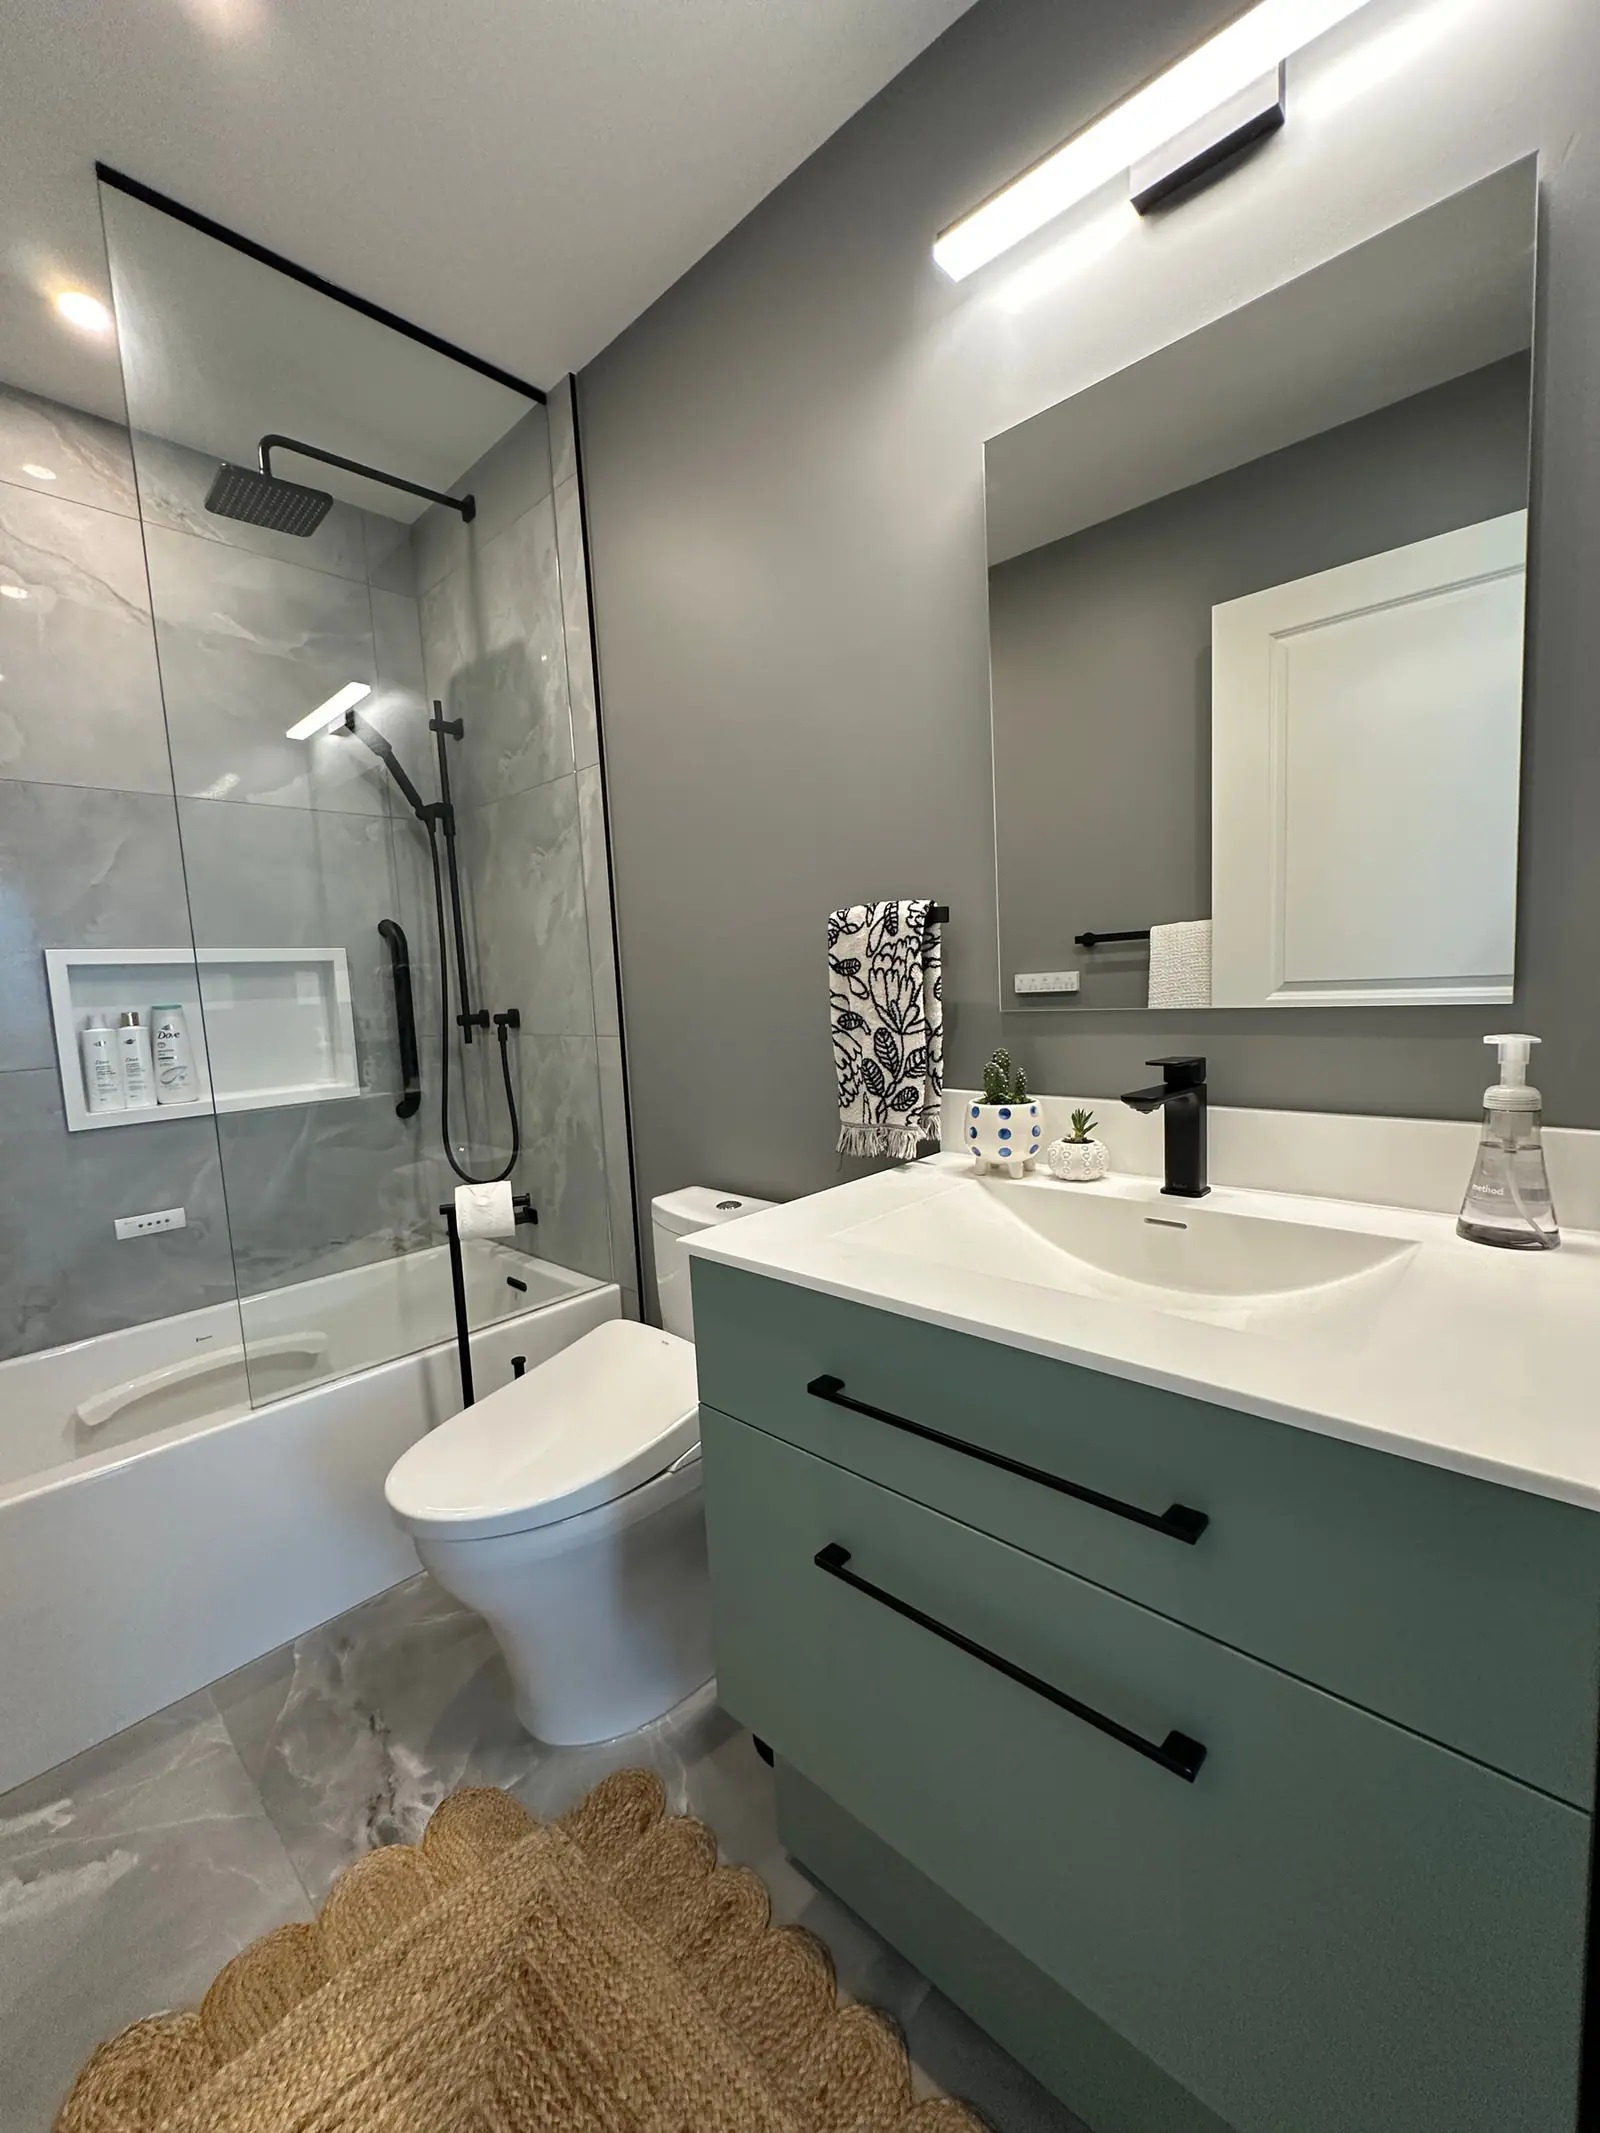
Shower construction
Shower waterproofing systems
Showers are waterproofed with one of three systems: a traditional mortar bed over a sloped pan liner, a bonded sheet membrane, or a liquid membrane rolled on in coats. The last two are tested to ANSI A118.10 and stop water right behind the tile. Ontario's Building Code sets the result rather than the product: shower receptors must not leak through the walls or floor (7.2.2.3), and the waterproof finish must reach at least 1.8 m in a shower stall (9.29.2.1).
What Ontario's Building Code requires in a shower
The code describes outcomes and minimum heights; it does not name a membrane. These are the articles in Ontario's 2024 Building Code (O. Reg. 163/24) that a tiled shower has to satisfy. Confirm current wording and local interpretation with your municipality's building department, because inspectors read the same articles slightly differently.
Notice the gap in the list. Tile counts as the waterproof finish, yet tile and grout let water through. The membrane or liner behind them is what keeps the framing dry, which is why the method matters more than the tile you see.
| Article | What it requires |
|---|---|
| 7.2.2.3 | Shower receptors constructed and arranged so that water cannot leak through the walls or floor |
| 9.29.2.1 | Waterproof finish at least 1.8 m above the floor in shower stalls, 1.2 m above the rim of a tub with a shower, and 400 mm above the rim of a tub without one |
| 9.29.2.2 | Waterproof finish of ceramic, plastic or metal tile, sheet vinyl, tempered hardboard, laminated thermosetting decorative sheets or linoleum |
| 9.29.10.4 | Ceramic and plastic tile around bathtubs or showers applied over moisture-resistant backing |
| 9.29.10.5 | Joints between wall tile and a tub or shower caulked with mildew-resistant sealant meeting CAN/CGSB-19.22 |
Traditional mortar bed: water in, water out
The oldest method lets water pass through the tile and grout, then drains it away underneath. A sloped mortar pre-slope goes down first. A pan liner of PVC, CPE, copper or lead lies over it, turns up the walls at least 3 inches above the finished curb, wraps over the curb and is clamped into a two-part drain. A second sloped mortar bed sits on the liner, and the tile goes on top. Water that soaks through the grout runs along the liner to weep holes in the drain body.
Built carefully, it lasts. Its failure points are well known: leaving out the pre-slope keeps the mortar bed permanently wet, nails or screws through the liner at the curb leak, and soap residue can clog the weep holes over the years, which leads to odours and dark grout. On the walls, the traditional method relies on a vapour retarder over the studs, lapped over the liner, and a cement or fibre-cement backer that resists water but is not waterproof.
Bonded sheet membranes stop water at the back of the tile
Bonded membranes appeared in the mid to late 1980s. Sheet versions are thin polyethylene-based sheets with a fleece on both faces, set in thin-set mortar over the backer and the sloped base. Tile goes directly onto the sheet. Water that gets through the grout meets the membrane at once and runs across it into a drain with an integrated bonding flange, so the layers below stay dry and the assembly dries out between showers.
The strengths are factory-controlled thickness, pre-formed inside and outside corners, and collars that seal the valve and shower-arm penetrations. Many systems pair the sheet with a pre-sloped foam tray, which takes the guesswork out of the floor slope. Seams must overlap and be fully bedded, and the drain must be the matching bonding-flange type or converted with the maker's adaptor kit.
One Ontario point: some sheet membrane makers allow plain drywall behind their membrane, but Article 9.29.10.4 still asks for moisture-resistant backing behind tile around tubs and showers. Pick a board your inspector will accept.
Liquid membranes are flexible, but thickness is the waterproofing
Liquid-applied membranes are rolled, brushed or troweled on in at least two coats and cure into a rubbery skin. They wrap awkward shapes well, which helps at niches, benches, curved curbs and plumbing penetrations, and they go over cement board and other approved backers.
Their weakness is the applicator's hand, because a thin pass is a leak path. One widely used product's data sheet calls for a wet coat of 0.015 to 0.022 inch (0.4 to 0.6 mm) per coat, checked with a wet-film gauge; a second coat only after the first has fully cured; and a cure before flood testing of about 24 hours at 10 to 21°C, or 2 hours at 21°C and above. A cold job site in a Toronto winter slows every one of those steps.
Read the data sheet before using a liquid in a steam shower. The same product says it must not be used as a vapour barrier, especially in steam rooms, which need a low-permeance assembly; see steam shower installation.
The three systems side by side
No single system is right for every shower. Sheet membranes suit showers built around a planned drain and a foam tray; liquids suit showers with lots of detail; a mortar bed is still a sound choice when an experienced setter builds it properly. The real risk is mixing products from different makers at the drain or the corners, so keep one system from drain to ceiling.
| Feature | Mortar bed and pan liner | Bonded sheet membrane | Liquid membrane |
|---|---|---|---|
| Where water stops | On the liner, below the mortar bed | Directly behind the tile | Directly behind the tile |
| Drain type | Clamping drain with weep holes | Drain with integrated bonding flange | Bonding-flange drain or one the maker approves |
| Floor slope | Pre-slope under the liner plus a sloped top bed | Sloped mortar bed or foam tray | Sloped mortar bed or foam tray |
| Thickness control | Factory-made liner | Factory-made sheet | Set by the applicator; must be gauged |
| Strong points | Long track record | Consistent, quick to inspect, dries between uses | Handles complex shapes and penetrations |
| Typical failures | No pre-slope, punctured liner, clogged weep holes | Seams not fully bedded, wrong drain | Thin spots, second coat too soon or too cold |
Test the shower before the tile goes on
A shower should be proven watertight while the membrane is still visible. The usual check is a flood test: plug the drain, fill the floor with water to just below the curb, mark the level and leave it, commonly for 24 hours, once the membrane has cured to the maker's schedule. Any drop means a leak to find now, not after the tile is set.
- Photograph every corner, seam, niche and penetration before tile covers them, and keep the photos with your house records.
- Seal the mixing valve and shower-arm penetrations with the system's own collars, not with caulk alone. Thermostatic and pressure-balanced shower valves covers the valve itself.
- Mark glass-door and grab-bar anchor points on the plan, add blocking behind them, and seal each hole as it is drilled through the membrane.
- Carry the membrane to at least the code heights, higher where the tile runs full height, and to the ceiling in a steam shower.
Questions
Is cement board waterproof?
No. Cement and fibre-cement boards resist water and will not rot, but water passes through them. In a shower they need a membrane over them, or a pan liner and vapour retarder behind them in the traditional method.
How high should shower waterproofing go?
At least to Ontario's code minimums: 1.8 m above the floor in a shower stall and 1.2 m above the rim of a tub with a shower. Carry it above the shower head as well, to the full height of the tile where tile runs to the ceiling, and over the ceiling in a steam shower.
Can a membrane be added over an existing tiled shower?
Not reliably. A bonded membrane needs clean, sound backer and a drain it can connect to, so a proper repair means removing the tile and backer down to the studs and the floor, then rebuilding the assembly.
Does a tub surround need the same waterproofing as a shower?
Tile around a tub with a shower needs a waterproof finish 1.2 m above the rim and moisture-resistant backing behind it. A membrane behind the tile is the safer standard, especially at the inside corners and around the valve, where most leaks start.
Sources and further reading
- Ontario 2024 Building Code Compendium, Part 7 Plumbing (Article 7.2.2.3)
- Ontario 2024 Building Code Compendium, Part 9 (Articles 9.29.2 and 9.29.10)
- City of Markham Builder Tip No. 8: Waterproof wall finishes around bathtubs (2024 OBC)
- Schluter Systems: Comparing traditional showers to bonded waterproof assemblies
- LATICRETE HYDRO BAN product data sheet
Checked November 19, 2026. Codes, by-laws, prices and product specifications change; confirm with your municipality, condo corporation or supplier before you build.
Keep reading
Related guides