Shower design
Curbless shower design
A curbless shower sets the shower floor level with the bathroom floor, so the slope to the drain has to come from below: by recessing the subfloor inside the shower, by raising the rest of the bathroom floor, or with a sloped tray and a ramp. The usual slope is 1/4 inch per foot, about 2%. In wood-framed GTA houses the floor joists decide which method works, because the Ontario Building Code strictly limits notching and drilling them.
Every curbless shower starts with a height budget
A curb hides the problem a curbless shower has to solve. Inside a curbed shower the floor slopes down from the curb to the drain; without one, the entry sits at bathroom-floor level and the floor still has to fall toward the drain. The drop grows with the distance water travels, and on top of it sit the sloped bed or tray, the membrane and the tile.
The fall alone is simple arithmetic at 1/4 inch per foot. Prefabricated foam trays designed for curbless work add little height at their edges; one manufacturer's thin-perimeter trays measure about 23 to 26 mm (roughly 1 inch) at the edge. A site-built mortar bed needs real thickness at its thinnest point, so it usually needs more depth than a tray.
| Distance water travels to the drain | Fall needed | Typical case |
|---|---|---|
| 3 ft | 3/4 in. | Linear drain across a 36-in.-deep shower |
| 4 ft | 1 in. | Linear drain at the entry of a 48-in.-deep shower |
| 5 ft | 1¼ in. | Linear drain across a 60-in. tub alcove, end to end |
| 6 ft | 1½ in. | Large walk-in or wet zone |
Three ways to build the slope without a curb
Schluter, a manufacturer of tile membranes and shower systems, describes three proven approaches, and the right one depends on the floor structure, the drain type and how much height the room can spare.
- Recess the shower floor. Dropping the subfloor inside the shower keeps the bathroom floor at its current height and gives the cleanest transition. Fine Homebuilding describes the traditional method as cutting up to 3 inches off the tops of the joists and then reinforcing them. Newer bracket systems hang a lowered subfloor between the joists without cutting them; one such system requires joist spacing no wider than 19.2 inches on centre and works only with a centre point drain.
- Build up the bathroom floor. The shower tray sits on the existing subfloor and the rest of the bathroom is raised to meet it. In one Fine Homebuilding project the tray's thinnest point was 7/8 inch above the subfloor, and the bathroom floor was raised with 1/2-inch underlayment and an uncoupling membrane. The joists stay untouched, but the height change moves to the bathroom doorway.
- Use a tray and a ramp. When the floor cannot be lowered and the bathroom cannot be raised, a sloped tray with a gentle ramp at the entry gives a step-free, if not perfectly flush, transition.
| Method | Bathroom floor height | Floor structure | Best fit |
|---|---|---|---|
| Recess the shower floor | Unchanged | Joists exposed; engineered reinforcement or a bracket system | Wood-framed floors with workable joists and room below for the drain |
| Build up the bathroom floor | Raised to the tray | Joists untouched | Floors that cannot be cut, where a threshold at the bathroom door is acceptable |
| Tray and ramp | Unchanged outside the ramp | Untouched | Floors that can be neither lowered nor raised, including concrete slabs |
Ontario's joist notching and drilling limits
The Ontario Building Code (Article 9.23.5.2) allows floor joists to be notched only on the top edge, only within half the joist depth of the edge of the bearing, and no deeper than one-third of the joist depth, unless the joist's depth is increased by the size of the notch. A shower floor recess sits out in the span, not at a bearing, so cutting it into the joist tops is not a notch the Code permits without restoring the lost depth. That is engineered reinforcement, such as sistered or new joists, and it is a structural alteration that brings a building permit.
Holes are limited too: Article 9.23.5.1 caps a drilled hole at a quarter of the joist depth, at least 50 mm from the edges, which matters when the new drain line has to cross joists. Engineered I-joists are stricter still. Canadian manufacturers' installation guides state plainly that I-joist flanges are never to be cut or notched, so in newer houses with I-joists the recess comes from a bracket system, a replacement joist designed by an engineer, or one of the other two methods.
On a concrete slab, as in condos and basements, recessing means cutting or grinding structural concrete. In a condo that is the condominium corporation's decision, so building up or a tray and ramp is the usual answer; condo tub to shower conversion covers condo approvals.
Linear drains and point drains shape the floor differently
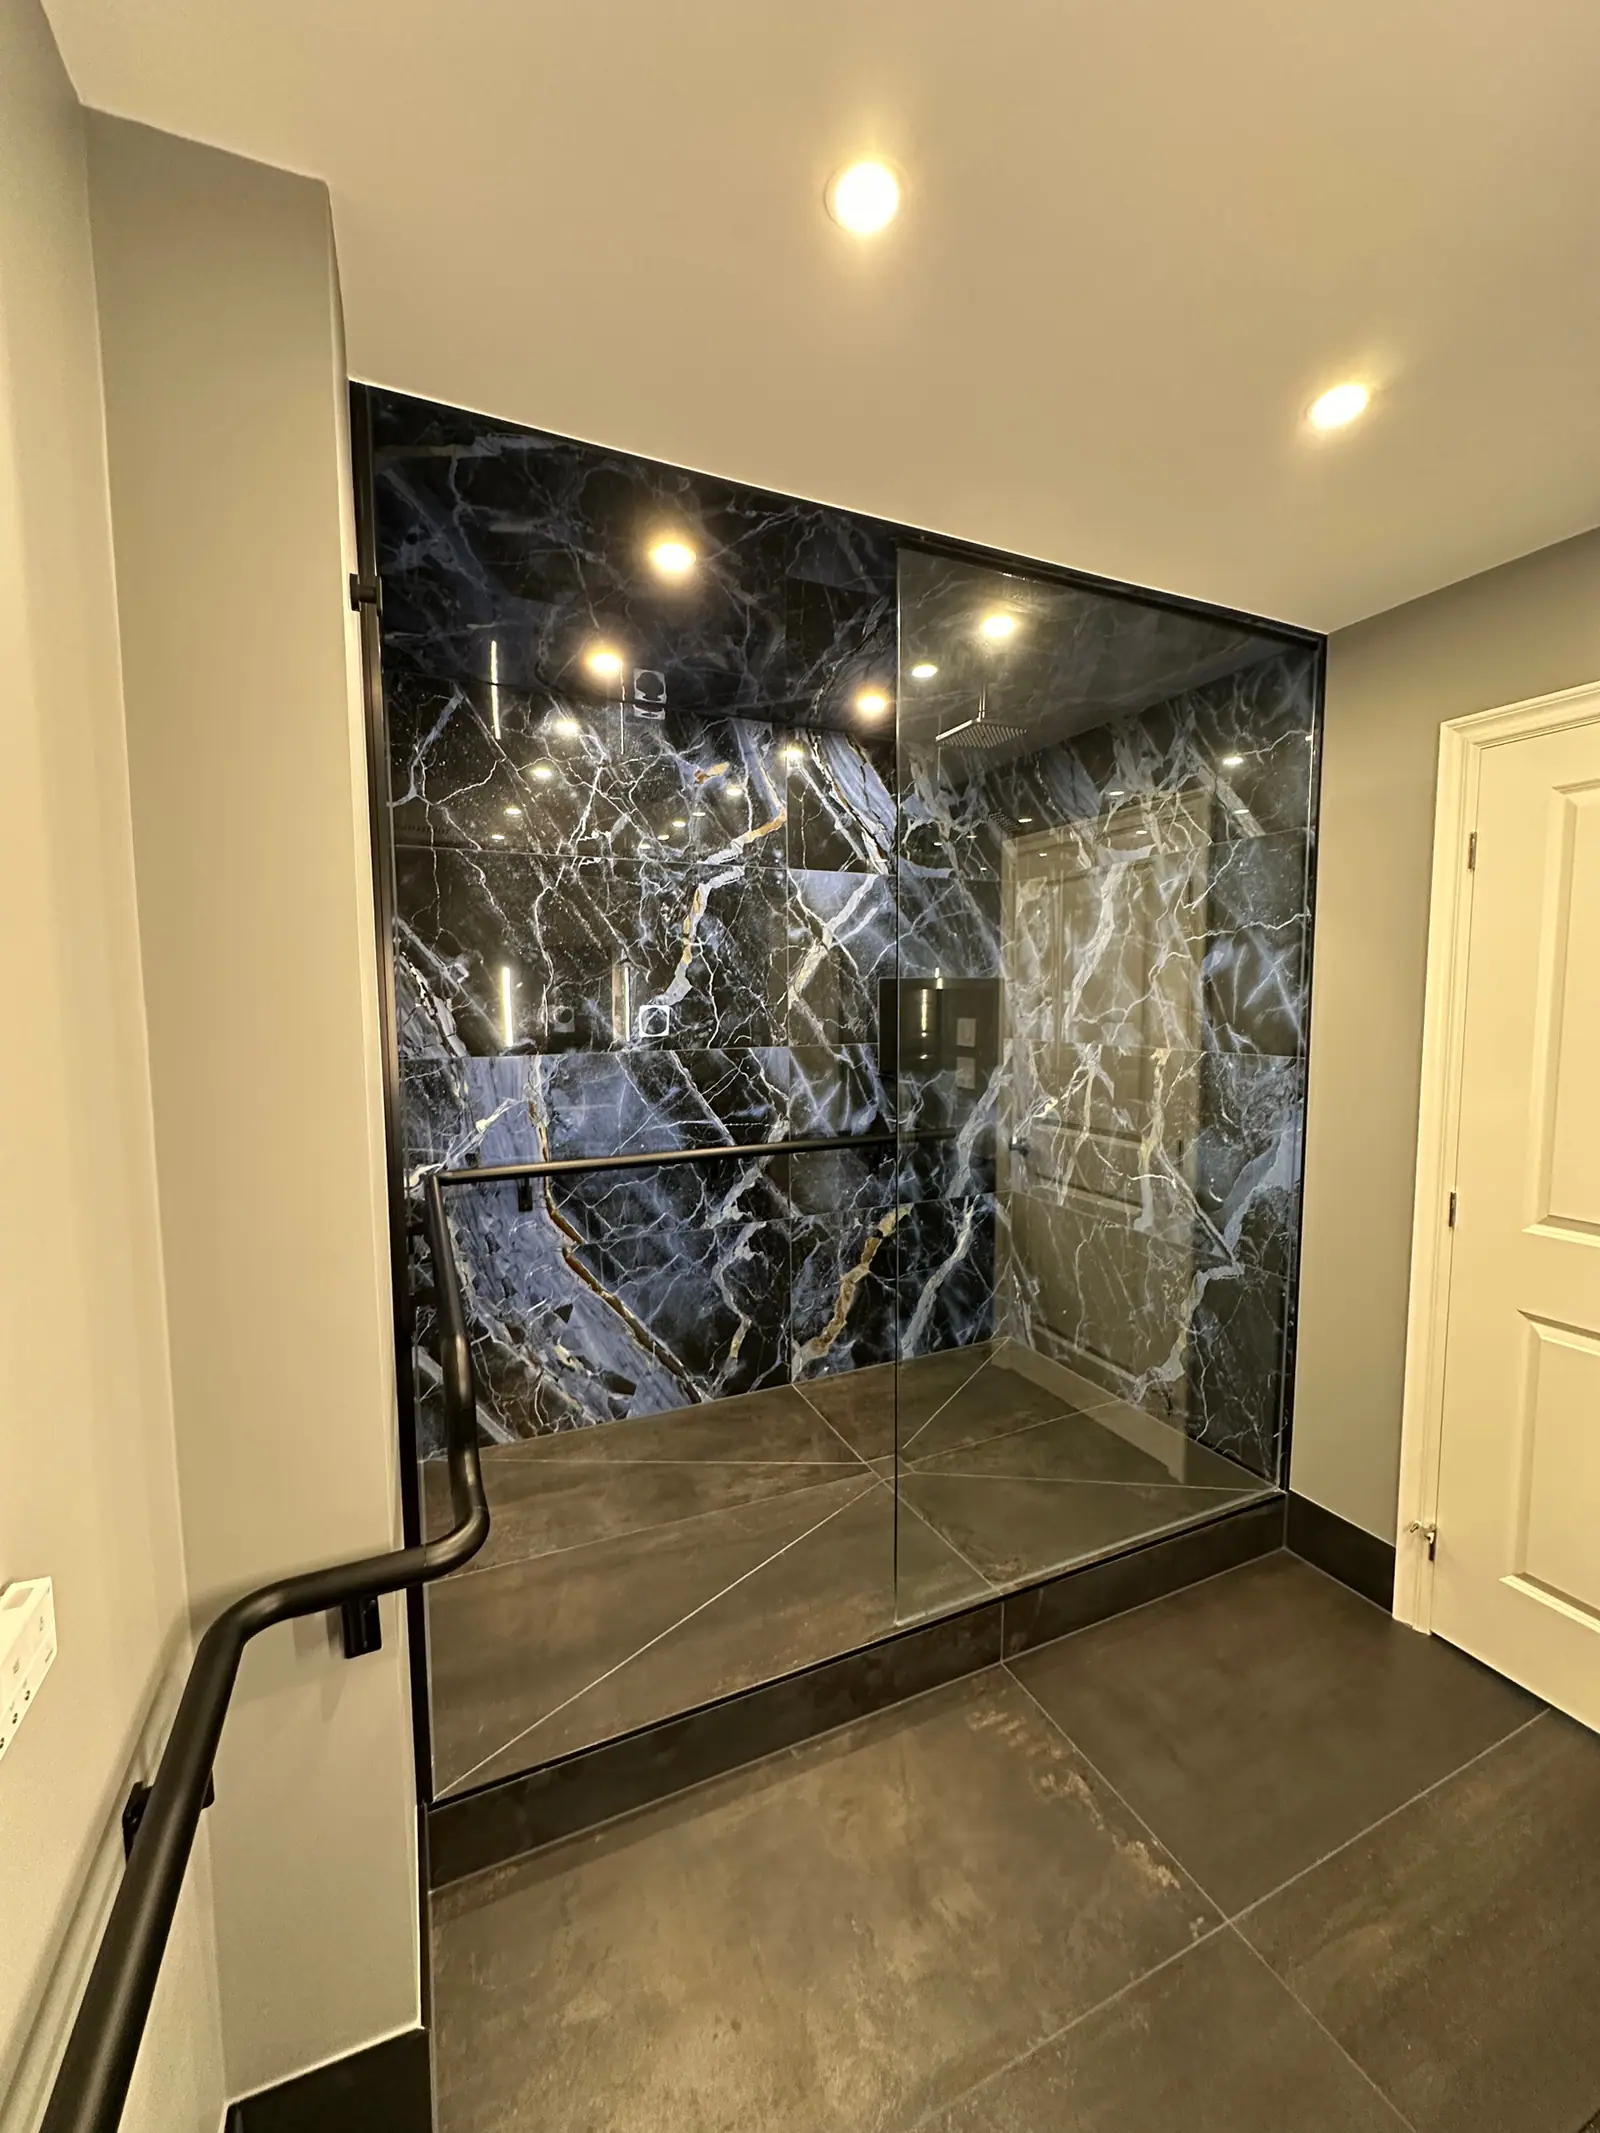
A linear drain lets the shower floor slope in a single plane, which is why it pairs so well with curbless design: large-format tile can run from the bathroom into the shower without being cut into a four-way slope. Where it goes changes the structure. At the back wall, the entry is the high point, level with the bathroom floor, and the shower floor sinks toward the drain by the full fall, so the floor has to be recessed. At the entry, just inside the glass line, the drain is the low point and the shower floor rises toward the back wall instead, which is why the build-up method in Fine Homebuilding places the drain at the shower entrance; it also catches water before it reaches the bathroom floor.
A centre point drain slopes the floor from all four sides, so tile has to suit that shape: smaller tiles or a mosaic follow the slope, while large tiles need diagonal cuts. Either type is sized by the Code like any shower drain: 1½ inches for one shower head, 2 inches once there are two or three heads or body sprays. Linear shower drains covers lengths, grates and cleaning.
Waterproofing has to continue past the shower
In a curbed shower the curb marks where the wet area ends. A curbless shower has no such line, so the membrane has to carry on past the opening. Schluter's technical guidance says industry guidelines recommend waterproofing at least 1 foot (30.5 cm) beyond the shower area in curbless showers, and in a curbless retrofit documented by the Journal of Light Construction the floor membrane extended 24 inches beyond the drain. The membrane is bonded continuously across the entry and lapped onto the walls, which the Ontario Building Code requires to have a waterproof finish at least 1.8 m above the floor in a shower.
Water control comes from layout as much as membrane. A shower head on the back wall, aimed away from the opening, and a fixed glass panel sized to the spray keep most water inside. Shower waterproofing systems compares sheet and liquid membranes.
Designing a curbless shower for aging in place
Step-free entry is the main reason many homeowners choose curbless. The Ontario Building Code's barrier-free requirements do not apply to detached and semi-detached houses or row houses, so in a home it is up to you how far to take accessibility. NKBA's guidelines give useful targets: floor transitions flush, or no higher than 1/4 inch if eased and 1/2 inch if bevelled; a clear floor space of 30 to 32 by 48 to 52 inches at each fixture; and a shower seat 17 to 19 inches high.
Add blocking for grab bars while the walls are open, mount a hand shower on a slide bar, and put the controls near the entry. Accessible bathroom renovation covers the full plan.
Questions
Can any bathroom have a curbless shower?
Most can, but not always with a flush floor. If the joists cannot be lowered and the bathroom floor cannot be raised, a tray with a short ramp still gives a step-free entry. The deciding factors are joist type and depth, what is in the ceiling below, and whether a raised threshold at the bathroom door is acceptable.
Will water run out onto the bathroom floor?
Not if the slope, drain position and glass are right. A drain at the entry or a floor that slopes firmly away from the opening, a shower head aimed away from the open side and a fixed panel covering most of the opening keep water in, and the membrane running past the shower protects the floor from splashes.
Does a curbless shower need a door?
No. Many are built with one fixed glass panel and an open entry, as long as the shower is long enough for the spray to stay behind the panel. Walk-in shower ideas covers panel widths and layouts.
Sources and further reading
- 2024 Ontario Building Code compendium, Part 9: Housing and Small Buildings
- Schluter-Systems: Curbless Shower Systems and Solutions
- Fine Homebuilding: Curbless Shower: Build Up, Not Down
- Journal of Light Construction: Curbless Shower Retrofit
- Interfor: I-Joist Construction Details, Canadian Limit States Design
Checked November 19, 2026. Codes, by-laws, prices and product specifications change; confirm with your municipality, condo corporation or supplier before you build.
Keep reading
Related guides