Kitchen design
Kitchen lighting design: pot lights, pendants and under-cabinet
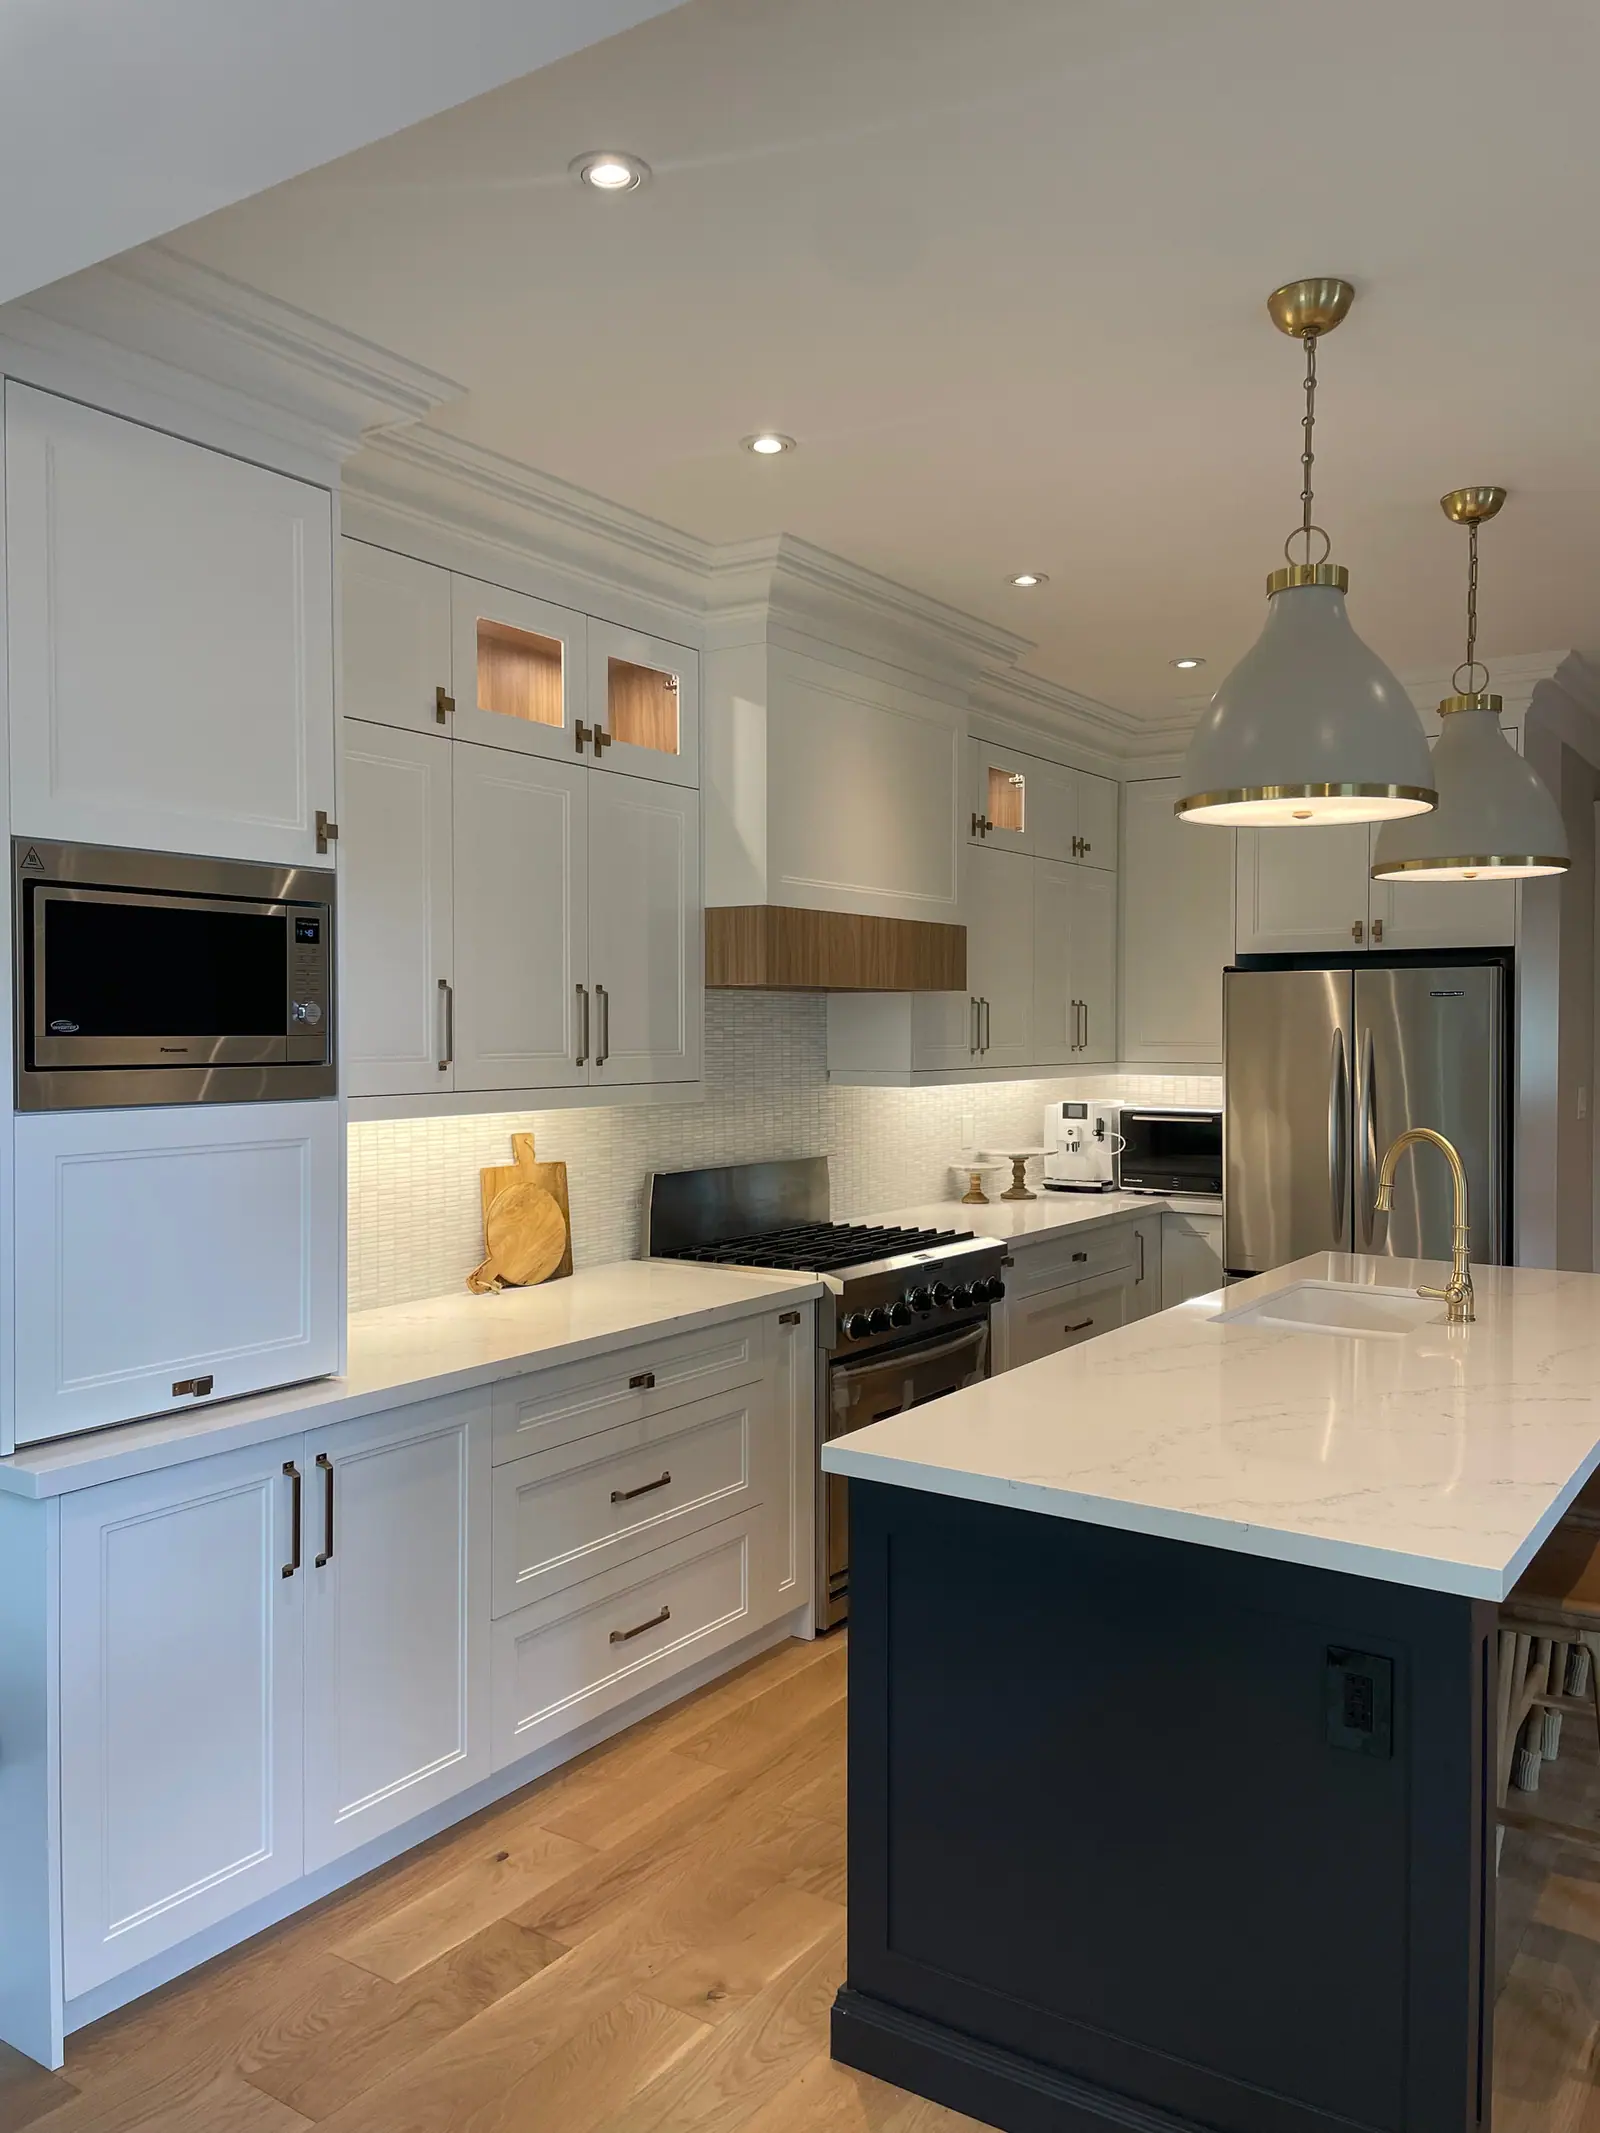
Good kitchen lighting is planned in layers: pot lights for general light, under-cabinet strips and well-placed downlights for the counters, pendants over the island, and low accent light inside or above cabinets. Keep one colour temperature across every layer, for most homes a warm 2700 K or 3000 K, choose LEDs with a colour rendering index (CRI) of 90 or more, and put each layer on its own dimmer. In Ontario, the wiring is done by a Licensed Electrical Contractor who files a notification with the Electrical Safety Authority.
Plan four layers before you place a single light
Start with the jobs the light has to do, then choose fixtures for each. The National Kitchen & Bath Association's planning guidelines say every work surface should be well lit by task lighting in addition to general lighting, and recommend light from multiple, adjustable sources. Counters are the priority: the Illuminating Engineering Society's widely quoted figure for kitchen counters is about 500 lux (roughly 46 foot-candles), far more than the floor needs.
Each layer belongs on its own switch or dimmer, so you can cook under full light and eat under a fraction of it.
| Layer | Typical fixtures | Its job | Control |
|---|---|---|---|
| Task | Under-cabinet LED strips, downlights over counters, hood lights | Shadow-free light on cutting boards, sink and cooktop | Own switch, near the main counter |
| Ambient | Pot lights or a flush ceiling fixture | Even light for moving around and cleaning | Dimmer at the room entrance |
| Decorative | Pendants over an island or peninsula, a fixture over the table | Focus, scale and character | Own dimmer |
| Accent | Lights inside glass cabinets, above uppers, in the toe kick | Depth and a low evening glow | Low level, often grouped with ambient |
Pot lights: place them for the counters, not the centre of the floor
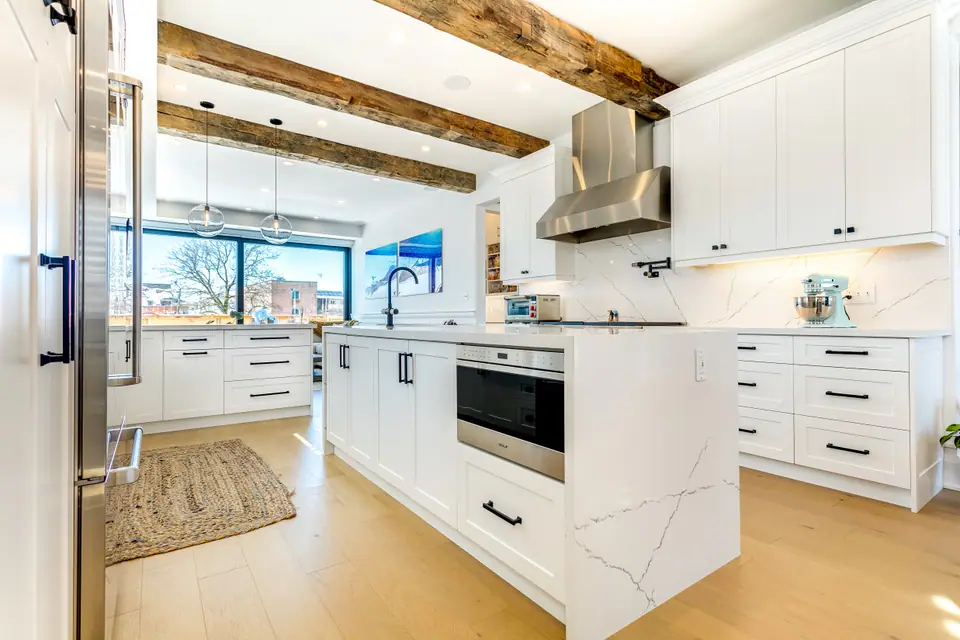
The most common mistake is a neat grid of pot lights centred on the room, which lights the floor and puts your own shadow on the counter. Place the counter row over the front half of the counter, so light lands in front of you, then fill the walkways and island with as few extra lights as give even coverage. Lay them out against the cabinet drawing and the joist plan together, because a joist, a duct or a hood can sit exactly where a light wants to go.
In an insulated ceiling, especially one below an attic, choose fixtures rated for direct contact with insulation (IC) and certified airtight. California's energy code, a demanding benchmark, requires recessed lights to be IC-rated, airtight to under 2.0 cfm at 75 Pa under ASTM E283, and sealed to the ceiling with a gasket or caulk. Older houses add one more check: knob-and-tube wiring must not be buried in insulation, so any found above the ceiling is replaced before lights and insulation go in.
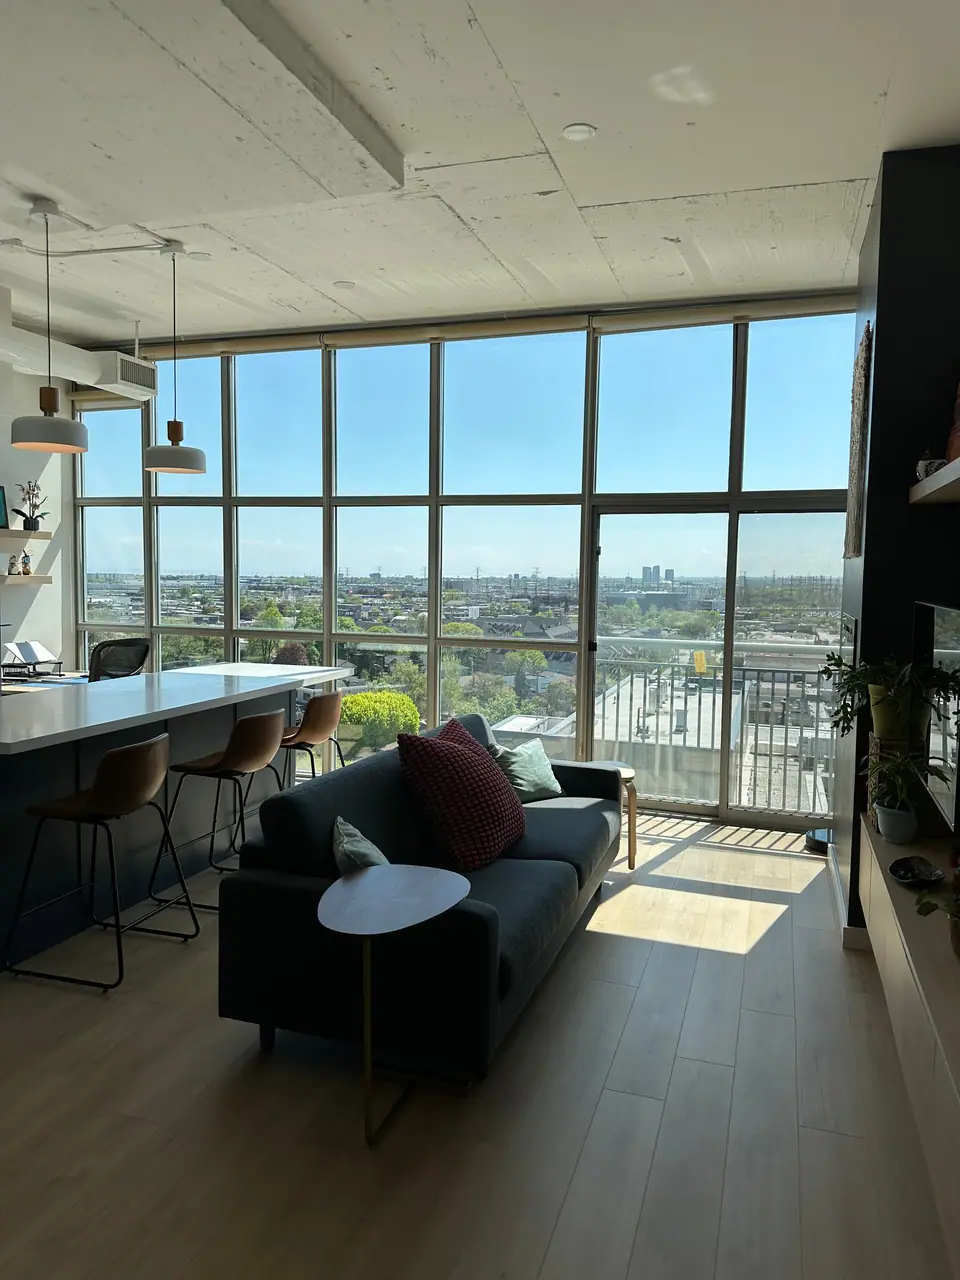
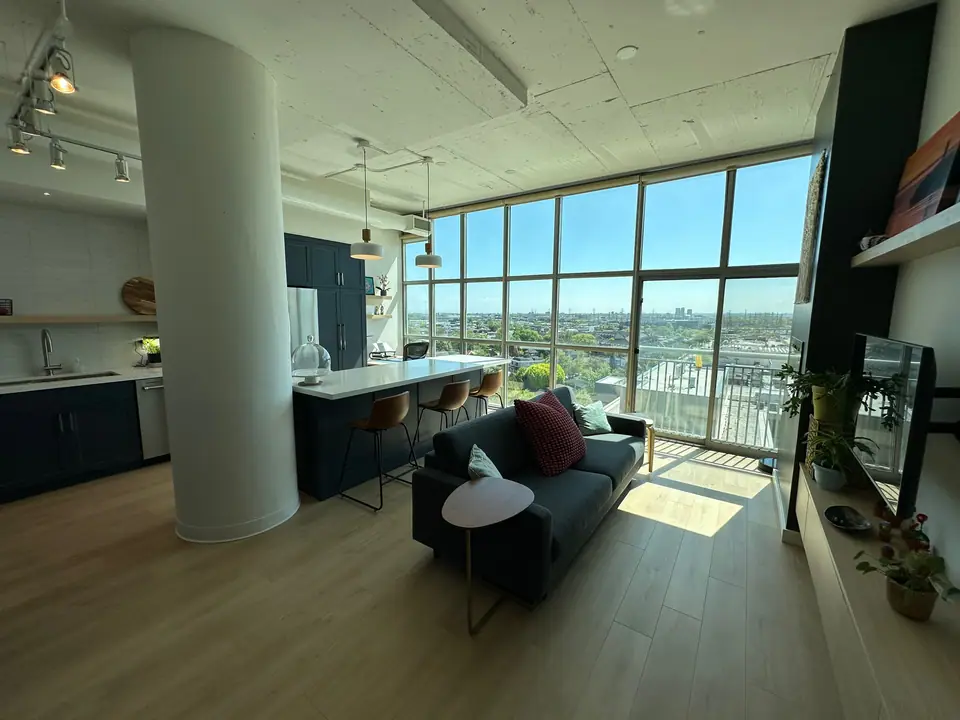
Slim canless or wafer lights have largely replaced housings in renovations. One maker's spec sheet shows the typical package: IC-rated, airtight to ASTM E283, no housing, spring clips for ceilings up to 3/4 inch thick and a separate driver and junction box. Check the label on the model you buy rather than assuming. Concrete condo ceilings are a different problem, covered in condo lighting with concrete ceilings.
Pendants: decide the box locations before the drywall
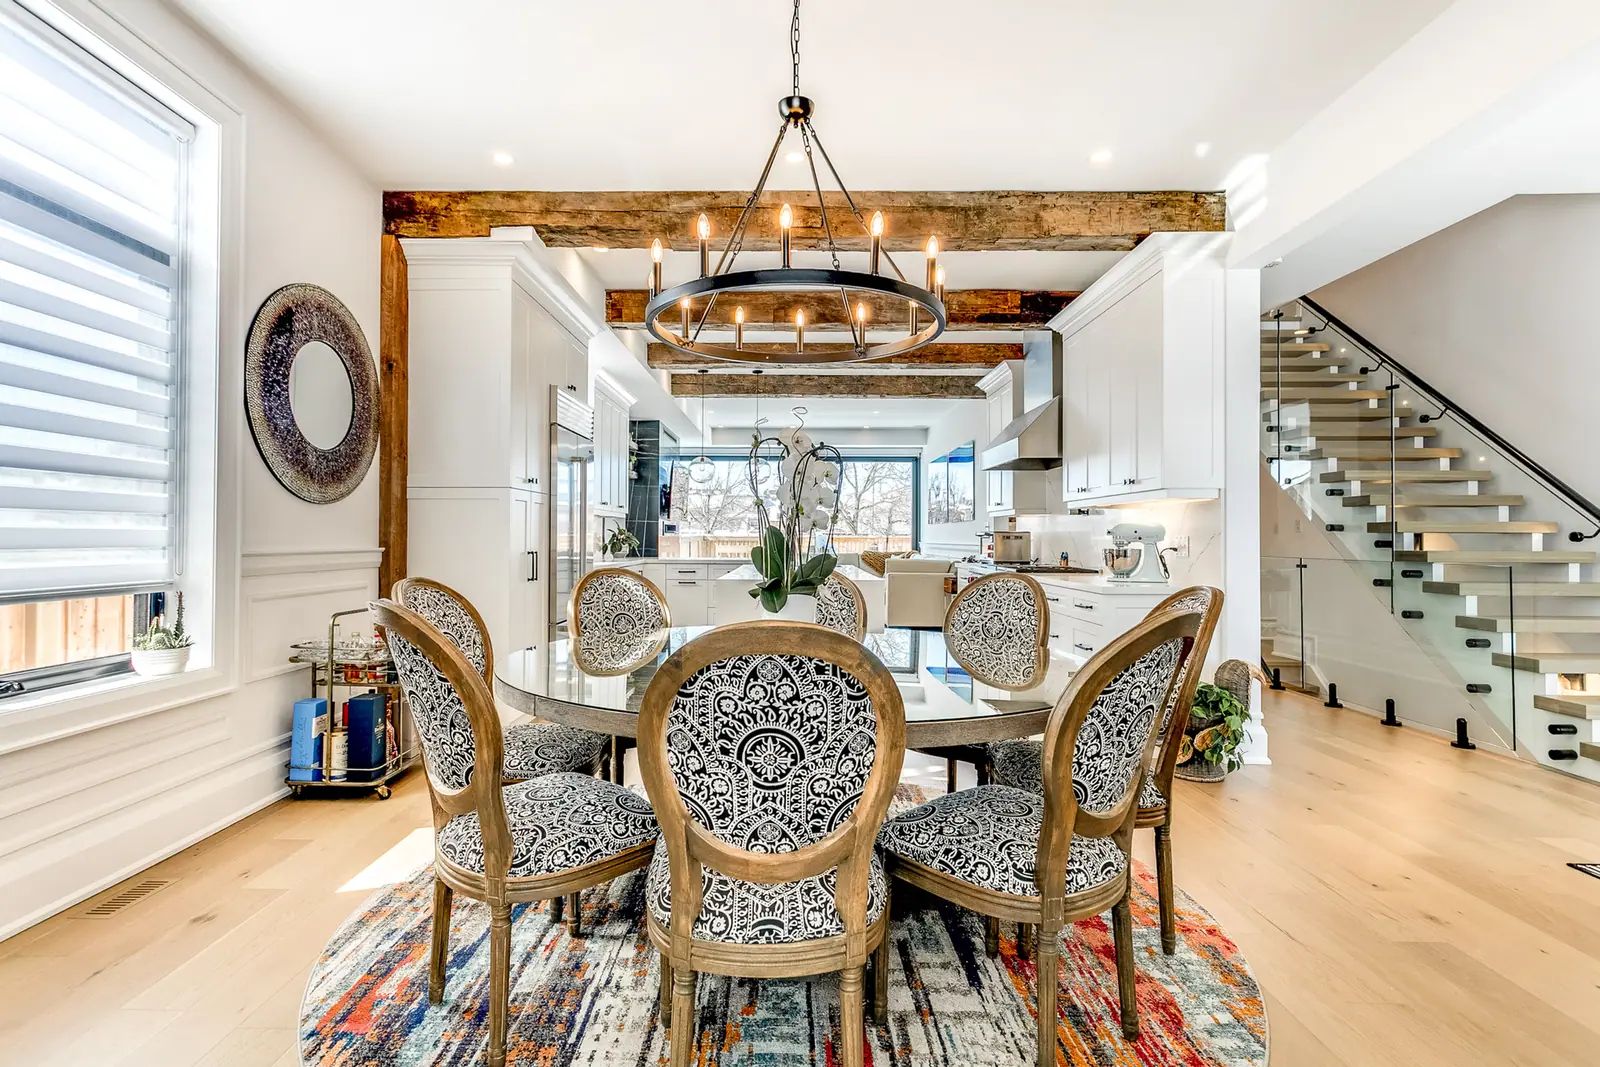
Pendants are positioned in relation to the island, not the ceiling, so their boxes have to be located from the final island drawing before the ceiling is closed. Centre the run on the island's length, keep each pendant clear of the end of the counter, and check that no joist sits where a box needs to go.
Height is a sightline question. Hang pendants low enough to light the counter and hide the bulb from someone standing, but high enough that people can see each other across the island. The fixture's installation sheet gives its range, and a cardboard mock-up hung from the ceiling at the planned height settles it in five minutes. Shades change the job: metal or opaque shades push light down as task light, while clear or opal glass spreads it as ambient light. Heavy fixtures need a box and support rated for their weight.
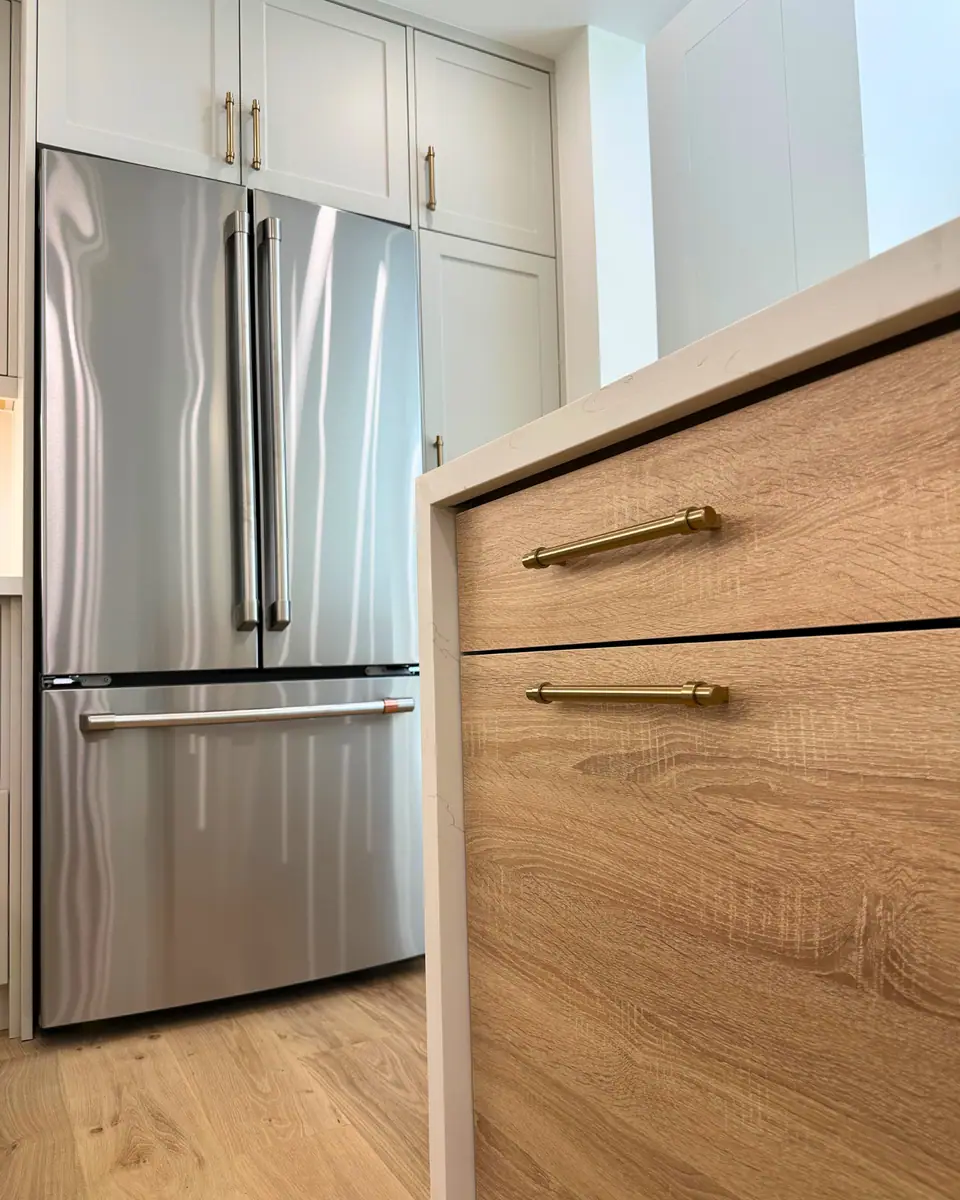
Pendants are where a kitchen's style shows. The sage green kitchen renovation in Toronto uses brass pendants over a quartz waterfall island under vaulted ceilings; tall ceilings like these are discussed in kitchen renovation with vaulted or raised ceilings.
Under-cabinet lighting does more work than any other layer
If you budget for one layer properly, make it this one, because wall cabinets block ceiling light from exactly the counter you work on. Wall cabinets usually sit about 18 inches above the counter, close enough that a low-output strip lights the whole surface evenly.
Continuous LED strips, usually under 25 mm wide and cut to length, set in an aluminium channel with a diffuser give an even line of light without the bright spots of older puck lights. Mount the strip toward the front of the cabinet so it lights the counter rather than glaring off the backsplash, and add a light rail or recessed bottom so the strip is not visible from a seat at the island. Polished stone reflects every LED dot, so a diffuser matters more over a glossy top. Plan the drivers where they can be reached, inside a cabinet rather than behind drywall, and run the strip the full length of each counter, including into corners.
Colour temperature and colour rendering: two numbers to check
Pick one colour temperature for the whole kitchen and every connected room, then insist on high colour rendering. Correlated colour temperature (CCT), measured in kelvin, describes how warm or cool white light looks; LED lamps sold as soft white are about 2700 K and warm white about 3000 K. Mixing them, such as warm pendants over cool under-cabinet strips, is what makes a kitchen look patchy.
Colour rendering index (CRI) measures how far colours shift under a light compared with a reference source. California's lighting standard for homes, one of the strictest, requires a CRI of at least 90 and an R9 value, the saturated-red score, of at least 50. Red matters because the US Department of Energy notes it plays a larger role in how people judge colour than other hues; it is a large part of what makes food and skin tones look natural.
| CCT | How it looks | Where it suits |
|---|---|---|
| 2700 K (soft white) | Warm, close to old incandescent | Kitchens open to living and dining rooms, warm wood |
| 3000 K (warm white) | Warm but crisper | Most kitchens; a common compromise for task light |
| 3500 K | Neutral, slightly warm | White or grey kitchens; still kind to warm wood |
| 5000 K and up (cool white, daylight) | Cool and bluish | Seldom chosen for home kitchens |
Dimmers, switching and Ontario's electrical rules
LED dimming works only when the dimmer and the light's driver are matched. Dimmers are either leading-edge (forward phase, often called TRIAC) or trailing-edge (reverse phase, often called ELV), and many LED fixtures list which they support; one canless model, for example, dims to 5 per cent on either type. For forward-phase dimmers, California's standard points to the NEMA SSL 7A compatibility standard. The US Department of Energy explains that LEDs respond almost instantly to changes in power, so flicker depends on the driver's loading, the dimming level and the waveform the dimmer delivers: check the fixture maker's compatibility list before the switches are ordered.
In Ontario, almost all electrical work must be reported to the Electrical Safety Authority (ESA). Anyone you hire must be a Licensed Electrical Contractor, who files the notification of work and can provide ESA's certificate of acceptance when it is done. Homeowners may do electrical work in their own home if they file the notification first, but friends, family and neighbours may not do it for them. An ESA notification is separate from a building permit. For circuits and panels, see electrical upgrades in a kitchen renovation.
Questions
Should pot lights and under-cabinet lights be the same colour temperature?
Yes. Use one colour temperature for every layer in the kitchen and in rooms that open onto it, usually 2700 K or 3000 K. Different whites side by side make one look yellow and the other blue.
Are canless wafer pot lights as good as lights with housings?
For most renovations, yes. Many are IC-rated and airtight, need no housing and fit in shallow ceilings, with the driver in a separate box. Check the label for the rating, CRI and dimmer compatibility of the exact model.
Can I install my own kitchen pot lights in Ontario?
Only in a home you own and live in, and only after filing a notification of work with the Electrical Safety Authority. Anyone you pay must be a Licensed Electrical Contractor, and friends or relatives cannot do it for you.
Why do my LED pot lights flicker when they are dimmed?
Usually the dimmer and the LED driver are not compatible, or the load is outside the dimmer's range. Check the light maker's list of tested dimmers and whether the fixture expects leading-edge or trailing-edge dimming.
Sources and further reading
- Electrical Safety Authority: DIY electrical work
- California Energy Commission: 2022 Reference Appendices (JA8 high-efficacy light sources, RA3.5.3.3 recessed luminaires)
- US Department of Energy: Flicker research
- Wikipedia: Under-cabinet lighting (IES 500 lux figure, LED strips)
- National Kitchen & Bath Association: Kitchen Planning Guidelines with Access Standards
Checked November 19, 2026. Codes, by-laws, prices and product specifications change; confirm with your municipality, condo corporation or supplier before you build.
Keep reading
Related guides